Neiman Marcus Cake
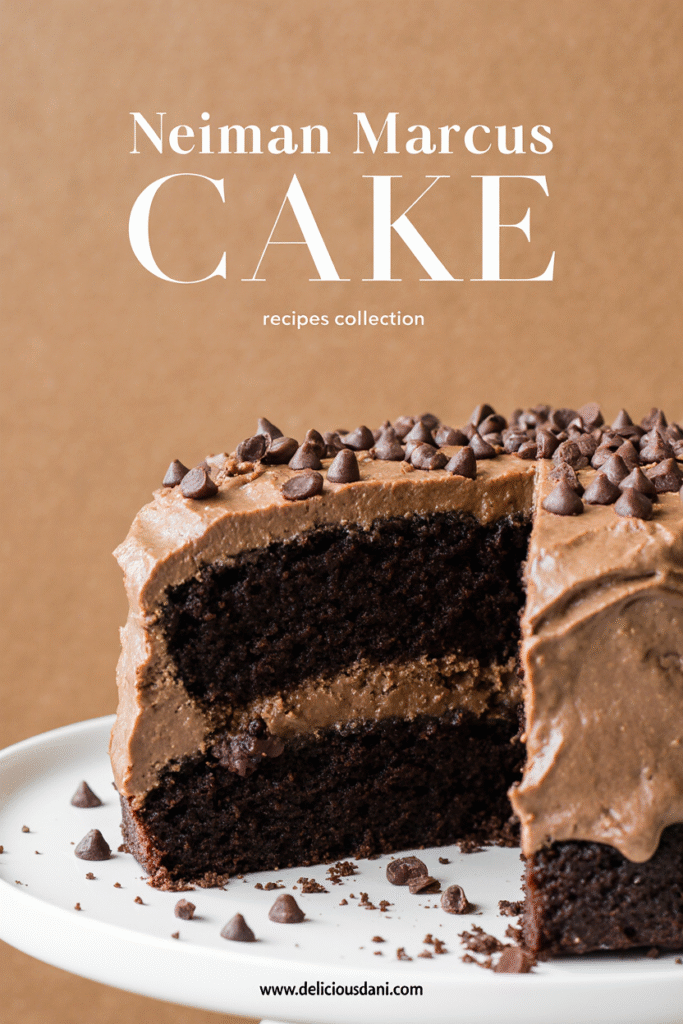
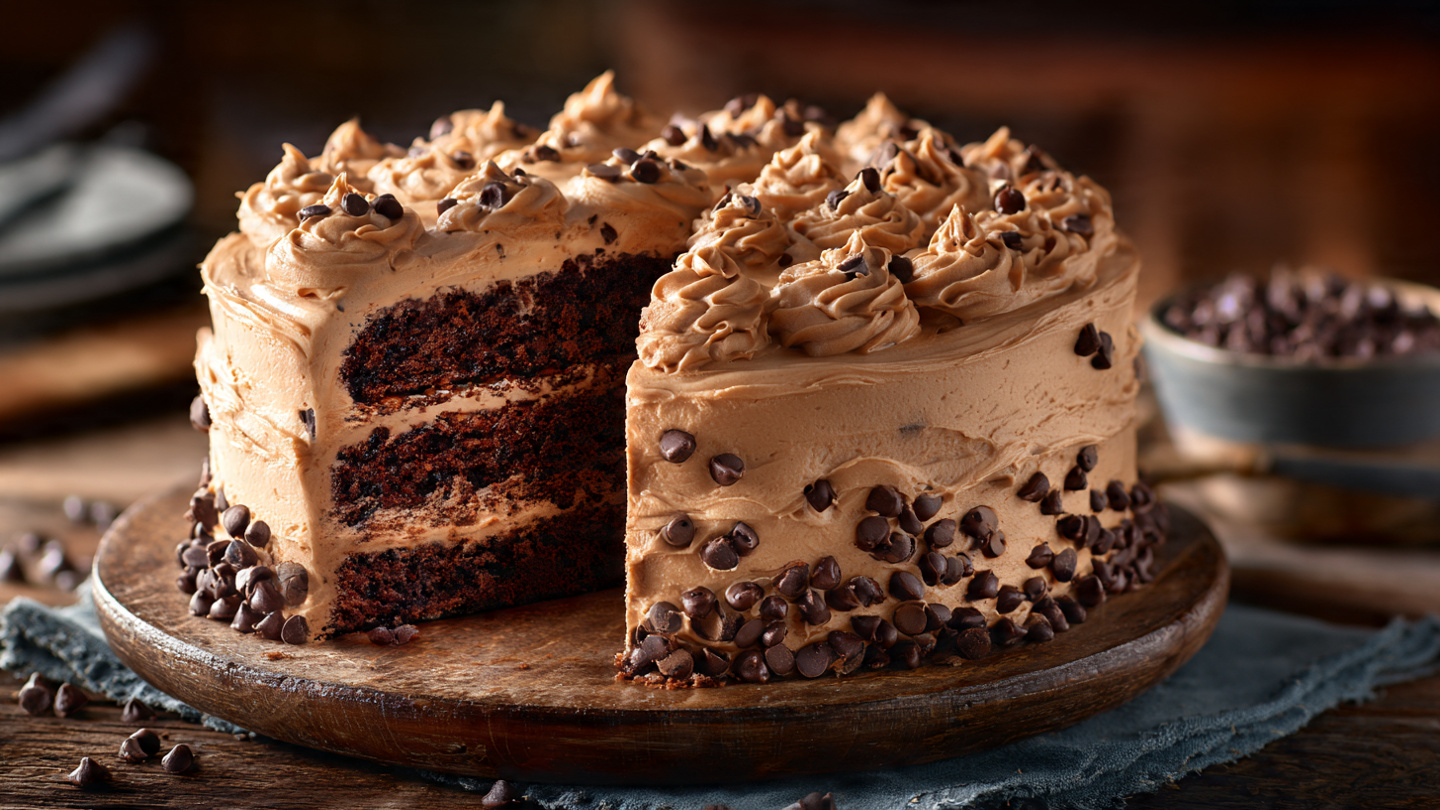
Get ready to discover the legendary Neiman Marcus Cake – that fabulously decadent, buttery toffee cake that’s been circulating in chain emails and recipe boxes for decades, captivating dessert lovers with its irresistible combination of tender vanilla cake, crunchy toffee bits, and rich caramel-chocolate flavor! I first encountered this recipe through my grandmother’s handwritten recipe cards (complete with the famous “expensive recipe” story), and the moment I tasted it, I understood why it had become such a phenomenon. What makes this cake absolutely extraordinary is the perfect marriage of textures and flavors: a supremely moist, tender butter cake studded with Heath bar or toffee bits that get gooey and caramelized as it bakes, all topped with a simple but addictive powdered sugar glaze or served plain to let that butter-toffee magic shine through. The cake is rich without being overwhelming, sweet but balanced, and has that “can’t stop eating it” quality that makes it dangerous to have around! Whether the Neiman Marcus backstory is true or just clever marketing (spoiler: it’s an urban legend, but who cares when the cake is this good?), this recipe has earned its legendary status through pure deliciousness. I’ve made this for countless potlucks, bake sales, and family gatherings, and it never fails to disappear within minutes with everyone begging for the recipe. Whether you’re a toffee lover, someone who appreciates classic American desserts, need a reliable crowd-pleaser, or just want to be part of baking history, this Neiman Marcus cake is about to become your new obsession!
Overview of Recipe Content
Neiman Marcus Cake is perfect for potlucks and parties where you need a crowd-pleaser, bake sales that sell out instantly, coffee cake for breakfast or brunch gatherings, bringing to work or sharing with neighbors, family reunions and holiday gatherings, using up that bag of toffee bits in your pantry, impressive but easy desserts for entertaining, or anytime you’re craving that butter-toffee-caramel flavor combination. It’s a great recipe because it’s genuinely easy with simple mixing methods, uses accessible ingredients from any grocery store, delivers impressive, bakery-quality results, can be made in advance and actually improves overnight, travels well and doesn’t require refrigeration, works beautifully as both cake and coffee cake, and has that addictive quality that keeps people coming back for more. The flavor profile is pure indulgence: rich, buttery cake with deep vanilla flavor, crunchy-chewy toffee bits that create caramel pockets, subtle chocolate notes from Heath bars, sweet caramelized edges and top, optional powdered sugar glaze that adds sweetness without overwhelming, and that perfect balance of tender cake and crunchy toffee texture. This recipe is perfect for toffee and caramel lovers, home bakers seeking reliable crowd-pleasers, anyone who loves retro/vintage recipes with stories, potluck and party bakers, people who appreciate simple but spectacular desserts, and families wanting something special but not complicated. It’s beginner-friendly, highly customizable, and always a hit!
Ingredients
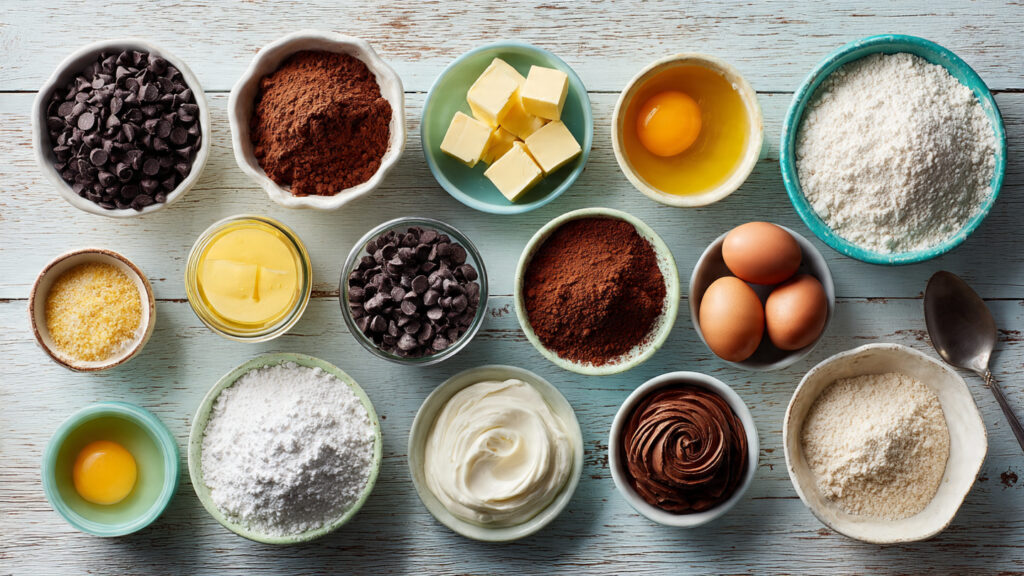
For the Cake:
- 2 cups (250g) all-purpose flour
- 2 teaspoons baking powder
- ½ teaspoon baking soda
- ½ teaspoon salt
- 1 cup (226g) unsalted butter, softened to room temperature
- 1 cup (200g) granulated sugar
- 1 cup (200g) light brown sugar, packed
- 4 large eggs, room temperature
- 2 teaspoons vanilla extract
- 1 cup (240ml) buttermilk, room temperature
- 1½ cups (270g) Heath toffee bits or chopped Heath bars
- Optional: ½ cup (90g) mini chocolate chips
For the Topping/Glaze (Optional):
- ½ cup (60g) powdered sugar
- 2-3 tablespoons milk or cream
- ½ teaspoon vanilla extract
- Or: dust with powdered sugar
- Or: serve plain (the cake is sweet enough!)
Alternative Topping:
- Reserved toffee bits sprinkled on top before baking
- Turbinado or coarse sugar for crunchy top
Tools Needed
- 9×13-inch baking pan
- Large mixing bowl
- Medium bowl
- Electric hand mixer or stand mixer
- Whisk
- Rubber spatula
- Measuring cups and spoons
- Toothpick or cake tester
- Wire cooling rack
- Small bowl (for glaze)
Suggested Substitutions and Additions
Butter Alternatives:
- Unsalted butter: Best choice for controlling salt (recommended)
- Salted butter: Reduce added salt to ¼ teaspoon
- European-style butter: Higher fat, richer flavor
- Margarine: Not recommended, affects flavor and texture
- Coconut oil: Different flavor, less rich (½ solid, ½ melted)
Sugar Modifications:
- Granulated + light brown sugar: Perfect balance (as written)
- All granulated: Less moisture, less caramel flavor
- All brown sugar: Deeper molasses flavor, denser
- Dark brown sugar: More intense molasses notes
- Reduce sugar: Can reduce by ¼ cup total for less sweet
- Coconut sugar: Caramel notes, darker color
Toffee Options:
- Heath toffee bits (in baking aisle): Most convenient, pre-chopped
- Heath candy bars: Chop into small pieces (about 6-8 bars)
- Skor bars: Similar to Heath, works perfectly
- Homemade toffee: Crushed into bits
- English toffee: Chopped fine
- Combination: Half toffee, half chocolate chips
Buttermilk Substitutes:
- Regular buttermilk: Best for tang and tenderness (recommended)
- Milk + acid: 1 cup milk minus 1 tablespoon, add 1 tablespoon lemon juice or vinegar
- Plain yogurt: Thinned slightly with milk (½ yogurt, ½ milk)
- Sour cream: Thinned with milk
- Dairy-free milk + acid: Works for dairy-free version (with dairy-free butter)
Flavor Variations:
- Classic: As written with vanilla and toffee
- Chocolate chip: Add ½-1 cup mini chocolate chips
- Mocha: Add 2 tablespoons instant espresso powder
- Almond: Replace 1 teaspoon vanilla with almond extract
- Caramel: Swirl ½ cup caramel sauce into batter
- Cinnamon: Add 1 teaspoon ground cinnamon
- Bourbon: Replace 2 tablespoons buttermilk with bourbon
Mix-Ins Beyond Toffee:
- Chocolate chips: Mini or regular, ½-1 cup
- White chocolate chips: Sweet, creamy contrast
- Butterscotch chips: Extra butterscotch flavor
- Chopped nuts: Pecans, walnuts (½-1 cup)
- Toffee + chocolate chips: Classic combination
- Caramel bits: Gooey pockets (use baking caramels)
- Crushed pretzels: Salty-sweet (½ cup)
Topping Variations:
- Simple glaze: Powdered sugar + milk (as written)
- Caramel glaze: Powdered sugar + melted caramel
- Chocolate glaze: Powdered sugar + cocoa + milk
- Cream cheese frosting: Rich, tangy topping
- Whipped cream: Light, simple serving
- Ice cream: Vanilla or butter pecan alongside
- Plain: Just dust with powdered sugar or serve as-is
Pan Size Options:
- 9×13-inch pan: Standard, as written (35-40 min)
- Two 9-inch round pans: Layer cake version (25-30 min)
- Bundt pan: Elegant presentation (45-50 min)
- 9×9-inch square pan: Thicker cake (40-45 min)
- Tube pan: Coffee cake style (45-50 min)
- Muffin tins: Individual portions (18-22 min)
Dietary Modifications:
- Gluten-free: Use 1:1 GF flour blend, add ¼ teaspoon xanthan gum
- Dairy-free: Use plant butter, dairy-free milk + acid
- Lower fat: Replace ½ the butter with applesauce (different texture)
- Egg-free: Replace each egg with ¼ cup applesauce (denser)
- Refined sugar-free: Use coconut sugar (darker, different flavor)
- Nut-free: Already nut-free unless you add nuts!
How to Make Neiman Marcus Cake
Step 1: Prepare Pan and Preheat Oven
Preheat your oven to 350°F (175°C). Position the rack in the center of the oven for even baking. Generously grease a 9×13-inch baking pan with butter or cooking spray, making sure to get into all corners and edges. For extra insurance against sticking, you can also line the bottom with parchment paper (though it’s not strictly necessary with good greasing).
Some bakers like to dust the greased pan with flour or a mixture of flour and sugar (like a streusel) for extra flavor and texture on the bottom, but this is optional. Set your prepared pan aside while you make the batter.
Pro tip: If you want extra-crispy edges (and who doesn’t?), use a metal pan rather than glass. Metal conducts heat better and creates those gorgeous caramelized edges that make this cake so addictive!
Step 2: Mix Dry Ingredients
In a medium bowl, whisk together the flour, baking powder, baking soda, and salt. Whisk thoroughly for about 30 seconds to ensure even distribution of the leavening agents. The combination of baking powder and baking soda provides lift and helps create a tender crumb – the baking soda also reacts with the buttermilk and brown sugar to create additional rise and flavor.
Set this bowl aside. Having the dry ingredients pre-mixed and ready ensures quick, even mixing once you combine wet and dry – overmixing creates tough cake, so efficiency is key!
Step 3: Cream Butter and Sugars
This is the most important step for texture! In a large mixing bowl (or the bowl of a stand mixer), combine the softened butter, granulated sugar, and brown sugar. Using an electric hand mixer or stand mixer fitted with the paddle attachment, beat on medium-high speed for 3-5 minutes until the mixture is very light, fluffy, and pale in color. It should increase in volume significantly.
This creaming process is crucial – you’re incorporating air into the butter, which helps create a light, tender cake. The mixture should look almost like frosting – very pale, fluffy, and doubled in volume. Scrape down the sides and bottom of the bowl occasionally to ensure even mixing.
Don’t rush this step! The full 3-5 minutes of beating makes all the difference between a dense cake and a light, tender one.
Step 4: Add Eggs and Vanilla
Add the eggs one at a time, beating well after each addition (about 30 seconds per egg) until each is fully incorporated before adding the next. The mixture should be smooth and glossy after each egg. After all eggs are added, add the vanilla extract and beat for another 30 seconds until everything is completely combined.
Room temperature eggs are crucial here – they incorporate more easily into the butter mixture without deflating the air you worked to incorporate. Cold eggs can cause the mixture to separate or curdle. If your mixture looks slightly curdled, don’t worry – it will come together when you add the flour.
After adding all eggs and vanilla, the mixture should be smooth, thick, creamy, and smell amazing with hints of vanilla and caramel from the brown sugar.
Step 5: Alternate Adding Flour and Buttermilk
Now for the mixing technique that creates tender cake! With the mixer on low speed, add the flour mixture in three additions, alternating with the buttermilk in two additions. The pattern is: flour, buttermilk, flour, buttermilk, flour. Start and end with flour.
After each addition, mix on low speed just until the flour disappears or the buttermilk is incorporated – about 10-15 seconds per addition. Don’t overmix! Overmixing develops gluten, which creates tough, dense cake. It’s okay if there are a few small lumps – they’ll disappear during baking.
Once the last addition of flour is almost incorporated, stop the mixer and finish folding by hand with a rubber spatula, scraping the bottom and sides of the bowl to ensure even mixing. The batter should be thick, smooth, and uniform with no flour streaks.
Critical tip: Mix just until combined, no more! Overmixing is the #1 cause of tough, dense cake.
Step 6: Fold in Toffee Bits
Using a rubber spatula, gently fold 1¼ cups of the toffee bits into the batter, reserving ¼ cup for topping if desired (or use all in the batter – your choice!). Fold gently but thoroughly so the toffee is evenly distributed throughout the batter. Every bite should have toffee!
The batter will be thick and loaded with toffee – that’s perfect. If adding chocolate chips or other mix-ins, fold those in now as well. The batter should barely hold everything together – it’s more of a thick, studded mixture than a pourable batter.
Be gentle with this folding to avoid deflating the air you incorporated during creaming. Use broad, sweeping strokes from the bottom of the bowl up and over.
Step 7: Spread Batter and Add Topping
Scrape the thick batter into your prepared 9×13-inch pan. Use a rubber spatula or offset spatula to spread it evenly into all corners and smooth the top. The batter is quite thick, so you’ll need to spread it rather than pour it. Make sure it’s distributed evenly so the cake bakes uniformly.
If you reserved toffee bits for topping, sprinkle them evenly over the surface now, pressing them in slightly so they adhere. You can also sprinkle the top with turbinado sugar or coarse sugar for extra crunch, or leave it plain – your choice!
The batter should come about halfway up the pan – it will rise during baking but won’t overflow (unless you used a smaller pan, in which case watch carefully for overflow).
Step 8: Bake to Golden Perfection
Place the pan in the preheated 350°F (175°C) oven on the center rack. Bake for 35-40 minutes, until the cake is golden brown on top, pulling away slightly from the edges, and a toothpick inserted into the center comes out clean or with just a few moist crumbs (not wet batter).
The top should be golden and may crack slightly in places – that’s fine! The edges should be deeply golden and caramelized from the toffee bits. The cake should spring back when lightly pressed in the center.
Don’t overbake! Check at 35 minutes – every oven is different. The cake continues cooking slightly from residual heat after removal, so it’s better to slightly underbake than overbake. Overbaked cake is dry and crumbly instead of moist and tender.
Step 9: Cool and Glaze (Optional)
Remove the cake from the oven and place the pan on a wire cooling rack. Let it cool in the pan for at least 15-20 minutes before glazing or serving. The cake needs to firm up during this time – it’s very tender when hot!
If making the optional glaze: In a small bowl, whisk together the powdered sugar, milk or cream (start with 2 tablespoons, add more if needed), and vanilla extract until smooth and pourable but not too thin – it should be the consistency of thick glue. Drizzle over the warm (not hot) cake in a zig-zag pattern or random drizzle. The warmth will help the glaze soak in slightly while still creating a pretty white drizzle on top.
Alternatively, you can wait until the cake is completely cool, then dust the top with powdered sugar through a fine-mesh sieve for a simple, elegant finish. Or serve it plain – the cake is sweet and flavorful enough on its own!
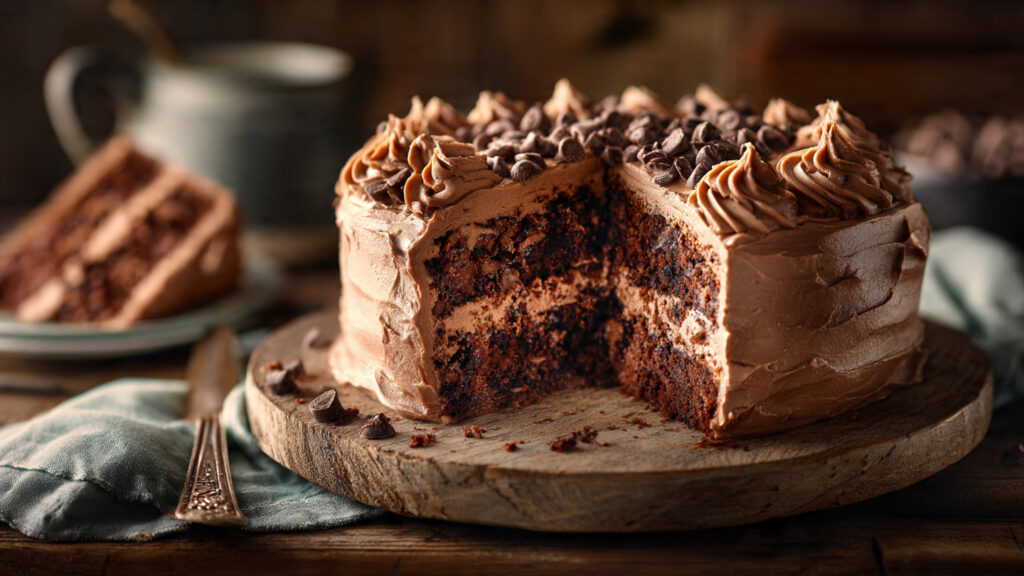
Let the cake cool completely before cutting for the cleanest slices (about 1-2 hours total cooling time). Cut into squares and serve. This cake is delicious warm, at room temperature, or even cold from the refrigerator!
What to Serve with It
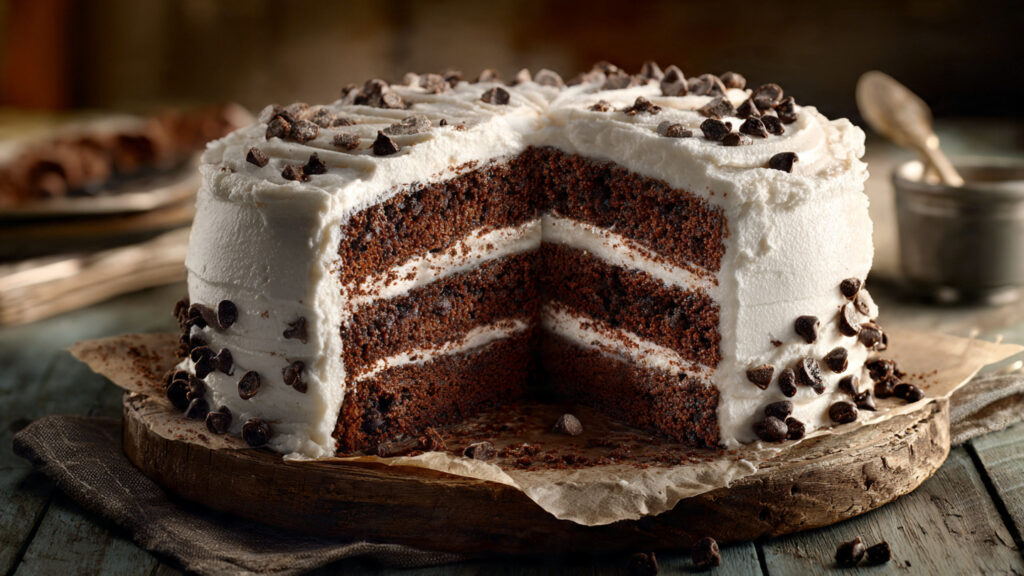
Neiman Marcus Cake is incredibly versatile and works beautifully for various occasions and serving styles. For morning or brunch, serve it as a coffee cake alongside hot coffee or tea – the buttery, toffee-studded cake pairs perfectly with a strong cup of coffee. The sweetness and richness make it ideal for a special breakfast or brunch gathering.
For dessert service, pair with vanilla ice cream or butter pecan ice cream – the cold, creamy ice cream contrasts beautifully with the warm or room-temperature cake, and the flavors complement each other perfectly. Whipped cream (vanilla or caramel-flavored) is another excellent topping that adds lightness without competing with the cake’s rich flavor.
Beverage pairings beyond coffee include: hot tea (English Breakfast, Earl Grey, or chai work wonderfully), milk (classic and comforting), hot chocolate (for ultra-indulgence), dessert wines (tawny port, cream sherry, or late-harvest Riesling), or Irish coffee or bourbon coffee (for adult gatherings).
For elegant presentation, serve squares on dessert plates with: a caramel sauce drizzle, a dollop of whipped cream or vanilla ice cream, fresh berries on the side for color and brightness, or chocolate sauce for extra decadence.
For casual serving (potlucks, picnics, bake sales), this cake is perfect served directly from the pan – just cut into squares and serve on napkins or small plates. No forks needed for informal gatherings! The cake holds together well and isn’t messy to eat with hands.
For special occasions, you can dress it up: cut into small squares for petit fours, layer with whipped cream or pudding for a trifle-style dessert, serve warm with vanilla bean ice cream and caramel sauce for restaurant-style plated dessert, or arrange on a tiered cake stand with other desserts for impressive presentation.
Kid-friendly serving: Children love this cake! Serve with cold milk and maybe a scoop of ice cream for a special treat. The toffee bits are especially appealing to young sweet tooths!
Tips for Making It Perfect
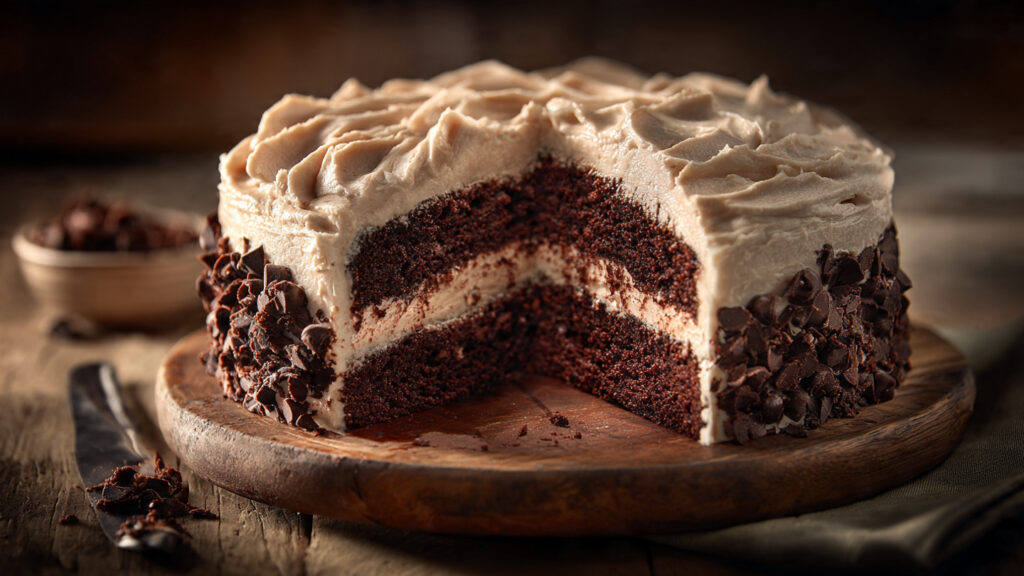
- Use room temperature ingredients: This is crucial for proper mixing! Room temperature butter creams more easily with sugar and incorporates more air, room temperature eggs emulsify better and don’t deflate the batter, and room temperature buttermilk mixes in smoothly without causing lumps or curdling. Take everything out of the refrigerator 30-60 minutes before baking, or quick-warm eggs in a bowl of warm water for 5 minutes.
- Cream the butter and sugars for the full time: Don’t rush the 3-5 minutes of beating! This is what creates a light, tender cake rather than a dense, heavy one. The mixture should be very pale (almost white), very fluffy, and significantly increased in volume. This aeration is crucial for texture – it’s worth the time!
- Don’t overmix after adding flour: Once you start adding flour, mix gently and minimally! Alternate the flour and buttermilk additions, mixing on low speed just until each addition is barely incorporated. Overmixing develops gluten, which makes the cake tough and dense instead of tender and light. Stop mixing as soon as you don’t see flour streaks.
- Use quality toffee bits or Heath bars: The toffee is the star of this cake, so quality matters! Heath toffee bits (in bags in the baking aisle) are the most convenient and work beautifully. Heath candy bars work too – just chop them into small pieces. Avoid generic or old toffee bits that might be stale – fresh toffee makes all the difference in flavor and texture.
- Don’t overbake – check early: This cake can go from perfect to dry quickly. Start checking at 35 minutes. The cake is done when a toothpick comes out with just a few moist crumbs (not wet batter, not bone dry). The top should be golden, and the edges should be pulling away slightly. Remember, the cake continues cooking from residual heat after removal, so err on the side of slightly underdone.
- Let it cool before cutting: Patience! The cake is very tender when hot and will fall apart if you try to cut it too soon. Let it cool for at least 15-20 minutes before cutting, or completely cool for the neatest slices. Use a sharp knife wiped clean between cuts for the prettiest pieces.
- Make it ahead for better flavor: Like many butter cakes, this one actually tastes better the next day! The flavors meld, the texture improves, and the toffee bits become more integrated. Make it a day ahead, cover tightly, and store at room temperature. It will be even more delicious than fresh-baked!
Storage Instructions
Room Temperature: Store the cake covered tightly with plastic wrap or aluminum foil, or in an airtight container, at room temperature for up to 5 days. The cake stays incredibly moist at room temperature and actually improves over the first 1-2 days as flavors meld. You can leave it right in the baking pan covered with foil for easiest storage. The high butter and sugar content act as preservatives, keeping the cake fresh without refrigeration.
Refrigerator: You can refrigerate the cake for up to 1 week in an airtight container or wrapped tightly in plastic wrap. Refrigeration firms up the cake and makes it more dense (some people actually prefer the texture cold!), and the toffee bits become more solid and crunchy. Bring to room temperature before serving for best flavor and texture, or serve cold if you prefer. Cold slices are delicious with coffee!
Freezing: This cake freezes beautifully for up to 3 months! Wrap tightly in plastic wrap, then in aluminum foil, or place in a freezer bag. You can freeze the whole cake or individual slices (wrap slices individually for grab-and-go treats). To thaw: leave wrapped at room temperature for 2-3 hours for whole cake, or 30-45 minutes for individual slices. The texture remains excellent after freezing.
Individual Slices: Cut the cooled cake into squares and wrap individual pieces in plastic wrap, then store in a container or freezer bag. This is perfect for portion control, grab-and-go snacks, lunchboxes, or gifting. Individual slices stay fresh at room temperature for 4-5 days, refrigerated for 1 week, or frozen for 3 months.
Make-Ahead Strategy: This is an excellent make-ahead cake! Bake 1-2 days before your event – the flavor actually improves with time. Store covered at room temperature. Add the glaze (if using) the day of serving, or serve plain. For big events, you can bake and freeze up to a month ahead, then thaw the day before.
Gifting: This cake makes wonderful gifts! Cut into squares and wrap individually, or present a whole uncut cake in the baking pan wrapped with decorative paper or in a gift box. Include a note: “Neiman Marcus Cake – keeps at room temperature for 5 days. Even better the next day!” Add the origin story for fun!
Reheating: To serve warm, microwave individual slices for 15-20 seconds, or warm the whole cake in a 300°F oven for 10-15 minutes covered with foil. Warm cake with vanilla ice cream is heavenly!
Preventing Drying: The cake is naturally quite moist, but proper covering is important. Always cover tightly with plastic wrap or foil – don’t leave it exposed to air. The butter content keeps it moist, but exposure to air will dry out the edges.
General Information
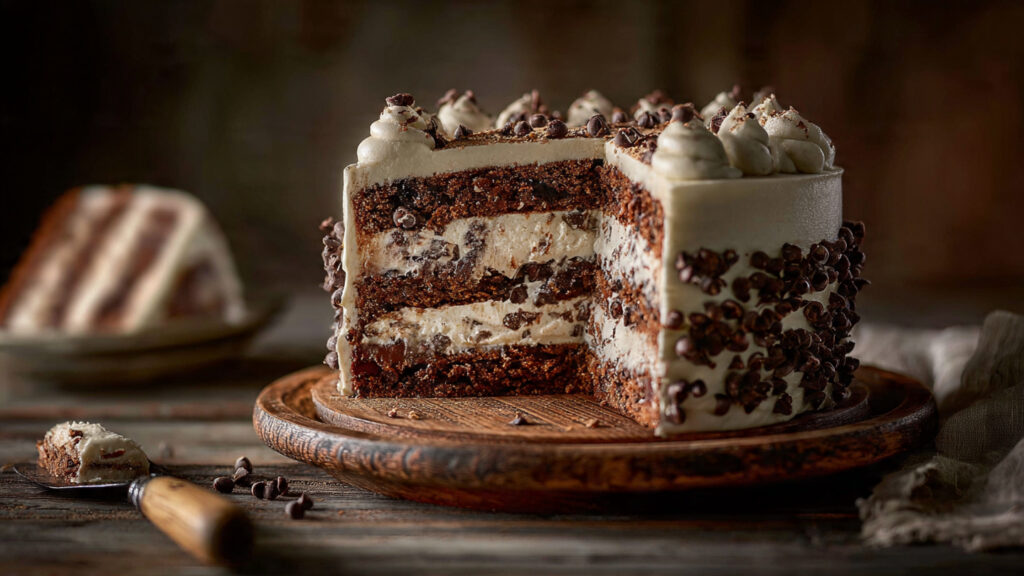
The Neiman Marcus Cake has a fascinating origin story that’s become an urban legend in American food culture. According to the popular tale, a woman dining at the Neiman Marcus department store café asked for the recipe for their delicious cake. She was told it would cost “two fifty” – which she assumed meant $2.50. When her credit card bill arrived, she discovered she’d been charged $250! Outraged by this deception, she decided to share the “expensive recipe” with everyone for free as revenge.
Here’s the truth: This story is completely fictional! It’s an urban legend that dates back to at least the 1940s-1950s, with versions involving various department stores, hotels, and restaurants (Mrs. Fields cookies, Red Velvet Cake from the Waldorf-Astoria, chocolate chip cookies from Neiman Marcus). Neiman Marcus has publicly stated multiple times that they’ve never sold a cake recipe for $250, they don’t charge for recipes, and this story is a myth.
Despite (or perhaps because of) the fictional backstory, the recipe became wildly popular, spreading through chain emails, recipe exchanges, and community cookbooks in the 1980s-1990s. The story gave it an irresistible “stick it to the man” appeal, and people loved the idea of getting this “expensive” recipe for free. The tale tapped into common fears about being overcharged and desires for revenge against perceived corporate greed.
The actual cake recipe – which varies but typically features butter, brown sugar, toffee or Heath bars, and sometimes chocolate chips – is similar to many American butter cake and coffee cake recipes from the mid-20th century. Recipes featuring Heath bars became popular in the 1960s-1970s as commercial toffee candies became widely available. The combination of buttery cake and crunchy toffee was (and remains) irresistible.
What makes this story so enduring is that the cake itself is genuinely delicious! Even though the story is fake, the recipe works beautifully and tastes amazing, which is why it continues to circulate decades later. People make it, love it, and share it – keeping the legend alive even though most people now know the backstory is fiction.
The Neiman Marcus Cake phenomenon also reflects the pre-internet era of recipe sharing, when recipes spread through handwritten cards, photocopied pages, and chain letters rather than Pinterest and food blogs. It’s a piece of culinary folklore that captures a specific moment in American food culture, and the cake itself remains a delicious reminder of that era!
Frequently Asked Questions (FAQ)
Q: Is the Neiman Marcus story true? A: No, it’s an urban legend! Neiman Marcus has repeatedly stated they never sold a cake recipe for $250, they don’t charge for recipes, and this story is entirely fictional. Similar stories have circulated about various establishments since the 1940s. However, the cake recipe itself is real, delicious, and worth making regardless of the backstory! The legend just makes it more fun.
Q: Can I use chocolate chips instead of toffee bits? A: Yes! You can replace all or some of the toffee bits with chocolate chips (mini or regular). Many versions of this recipe include chocolate chips, or a combination of toffee and chocolate. The cake will be different – more chocolatey, less toffee/caramel – but still delicious. You can also use half toffee, half chocolate for the best of both worlds!
Q: Why is my cake dense instead of light and fluffy? A: Dense cake usually results from: (1) Not creaming butter and sugar long enough – must beat for full 3-5 minutes, (2) Overmixing after adding flour – mix gently and minimally, (3) Using cold ingredients – must be room temperature, (4) Old baking powder/soda – must be fresh and active, or (5) Too much flour – spoon into measuring cup and level, don’t pack. The creaming step is most critical for light texture!
Q: Can I make this in a different pan? A: Yes! The 9×13-inch pan is traditional, but you can use: two 9-inch round pans for a layer cake (reduce baking time to 25-30 minutes), a Bundt pan for elegant presentation (increase time to 45-50 minutes), a 9×9-inch square pan for thicker cake (increase time to 40-45 minutes), or a tube pan for coffee cake style. Adjust baking time based on pan depth – deeper pans need more time.
Q: Do I need the glaze or can I skip it? A: The glaze is completely optional! Many people prefer this cake without glaze because it’s already quite sweet and the glaze can make it overly sweet. You can: (1) Skip glaze entirely, (2) Just dust with powdered sugar, (3) Make the simple glaze as written, or (4) Serve with whipped cream or ice cream instead. The cake is delicious any way you serve it!
Q: Can I make this dairy-free? A: Yes, with substitutions! Use dairy-free butter (Earth Balance or similar), and for buttermilk use dairy-free milk plus 1 tablespoon lemon juice. Make sure your toffee bits are dairy-free (some contain milk) or use dairy-free chocolate chips instead. The texture will be slightly different but still good. Make sure all ingredients are dairy-free if needed for allergies.
Q: Why are my toffee bits sinking to the bottom? A: Toffee bits can sink if: (1) The batter is too thin – should be quite thick, (2) Toffee pieces are too large – chop them smaller, or (3) You didn’t fold them in evenly. To prevent: make sure batter is thick (should barely be pourable), toss toffee bits with 1 tablespoon of flour before folding in (coats them and helps suspension), and fold gently but thoroughly. A few sinking to bottom is normal and creates a delicious caramelized layer!
Conclusion
I’m so excited to share this Neiman Marcus Cake recipe with you – whether the backstory is true or just a delicious urban legend, this cake has earned its legendary status through pure, buttery, toffee-studded deliciousness! The combination of tender butter cake, crunchy toffee bits, and that perfect balance of sweet and rich creates a dessert that’s impossible to resist. Whether you’re making it for a special occasion, bringing it to a potluck, baking for a crowd, or just treating yourself, this cake will not disappoint.
I’d absolutely love to hear how your Neiman Marcus Cake turned out! Please leave a comment below sharing your experience, whether you used the glaze, and what the reactions were. If this cake disappeared quickly with everyone begging for the recipe (and the story!), please give it a five-star rating – it helps other bakers discover this classic!
Don’t forget to snap a photo of your beautiful cake (especially those golden, toffee-studded slices!) and share it on Instagram – tag me so I can see your creation and celebrate your baking success! And please pin this recipe to your “Classic Desserts,” “Potluck Recipes,” or “Crowd-Pleasing Cakes” boards on Pinterest so you’ll always have it when you need something reliably delicious. Happy baking, and may your cake always be moist, buttery, and irresistibly toffee-licious!
Nutritional Information (per serving)
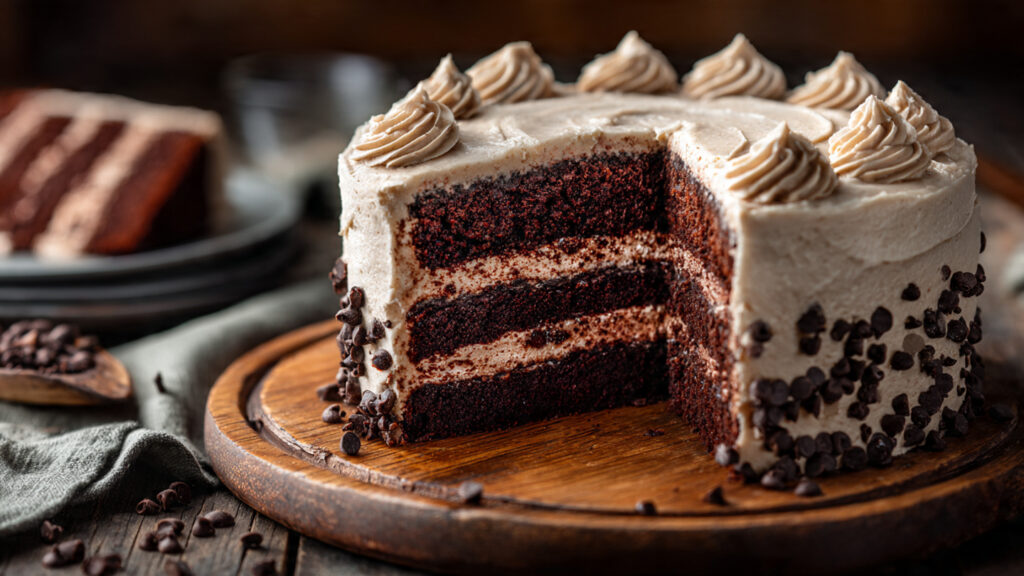
Based on 20 servings (9×13-inch pan cut into 20 pieces)
| Nutrient | Amount |
|---|---|
| Calories | 295 |
| Total Fat | 13g |
| Saturated Fat | 7g |
| Trans Fat | 0g |
| Cholesterol | 65mg |
| Sodium | 185mg |
| Total Carbohydrates | 42g |
| Dietary Fiber | 1g |
| Sugars | 31g |
| Protein | 3g |
| Vitamin A | 8% DV |
| Vitamin C | 0% DV |
| Calcium | 65mg |
| Iron | 1mg |
| Potassium | 85mg |
Note: Nutritional values are approximate and will vary based on specific ingredients used, whether glaze is included, exact portion sizes, and how much toffee is used. This is a rich, indulgent dessert meant for special occasions and celebrations.