Potato Cheese Sticks Crispy
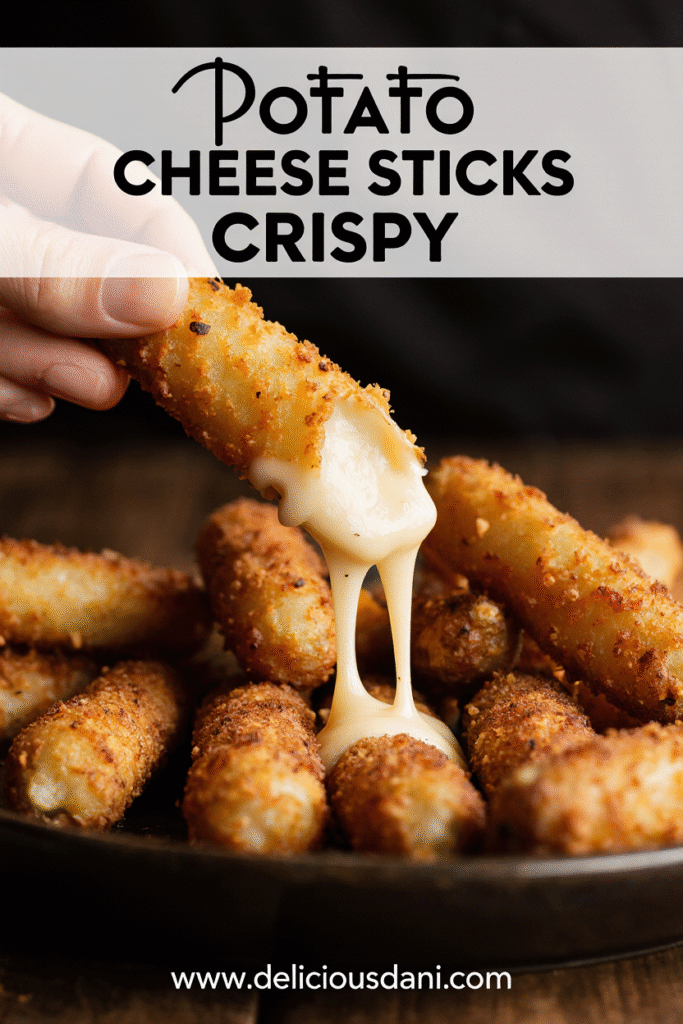
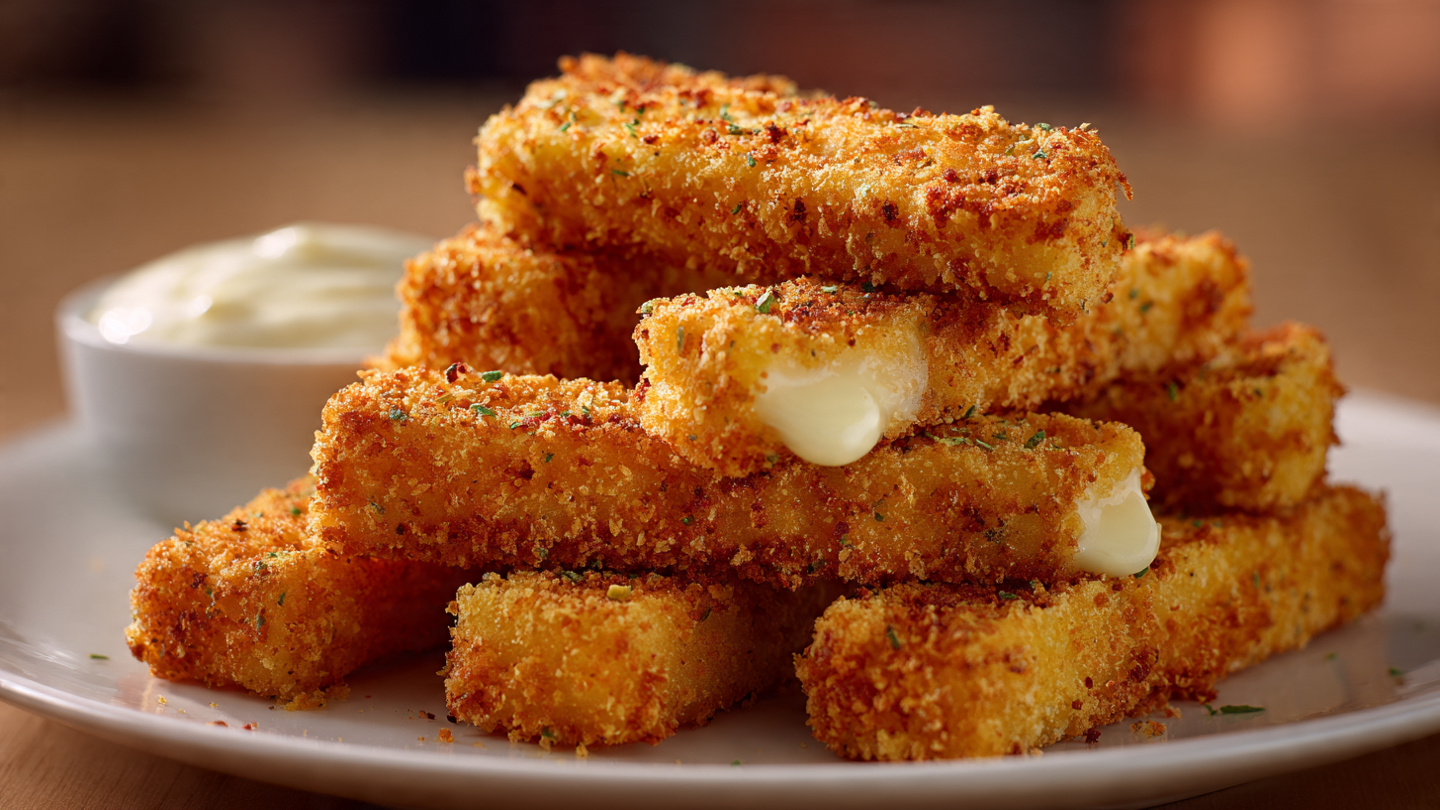
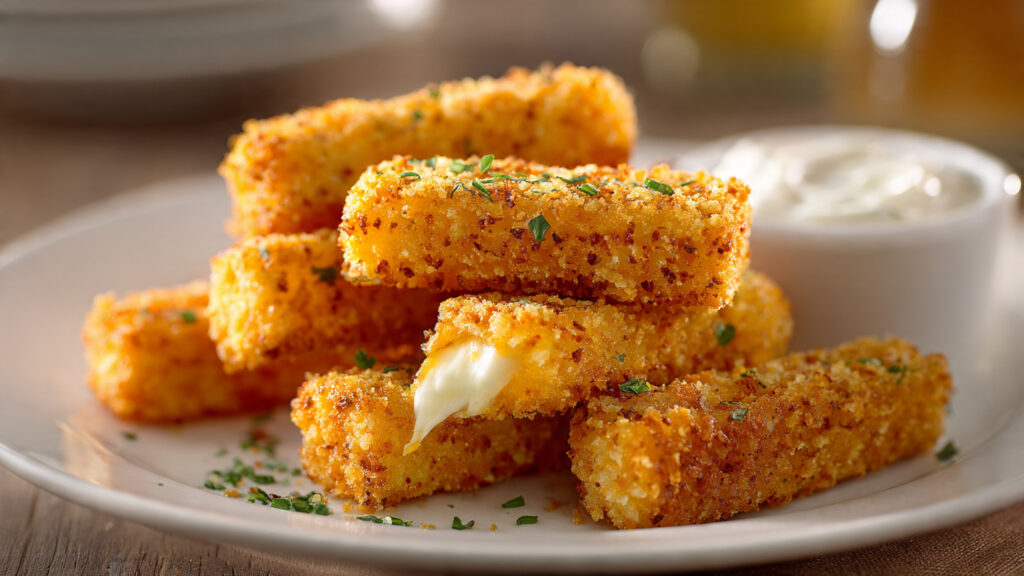
Get ready to meet your new favorite snack: Crispy Potato Cheese Sticks that are golden, crunchy on the outside, and loaded with gooey, melted cheese on the inside! I stumbled upon this recipe during a desperate moment when I had leftover mashed potatoes and a serious craving for something crispy and cheesy. What started as an experiment turned into an absolute family obsession that we now make at least once a week. These cheese sticks are essentially the best parts of mozzarella sticks and loaded potato skins combined into one irresistible finger food. The magic happens when you bite through that perfectly crispy, golden-brown coating to reveal the stretchy, melty cheese surrounded by creamy, fluffy potato – it’s pure comfort food heaven! What I love most is how versatile they are: serve them as an appetizer at parties, pack them in lunchboxes, enjoy them as an after-school snack, or make them the star of game day spreads. My kids go absolutely crazy for these, and I’ve even caught my husband sneaking them cold from the fridge the next day (though they’re definitely best fresh and hot!). Trust me, once you master these crispy potato cheese sticks, you’ll be making them on repeat!
Overview of Recipe Content
Crispy Potato Cheese Sticks are perfect for any casual gathering, game day parties, kid-friendly meals, after-school snacks, appetizer spreads, or those moments when you’re craving something indulgent and satisfying. It’s a great recipe because it transforms simple, humble potatoes into restaurant-quality finger food that rivals any frozen appetizer, uses ingredients you likely already have on hand, and can be made ahead and frozen for ultimate convenience. The flavor profile is the ultimate comfort food combination: creamy, buttery potato interior with sharp, melty cheese, all encased in a seasoned, ultra-crispy coating that provides the perfect textural contrast. This recipe is perfect for parents looking for kid-approved snacks, anyone hosting casual gatherings, college students wanting impressive dorm-friendly food, meal preppers who want freezer-ready options, or anyone who believes that cheese and potatoes together create pure magic. They’re also endlessly customizable with different cheeses, seasonings, and dipping sauces.
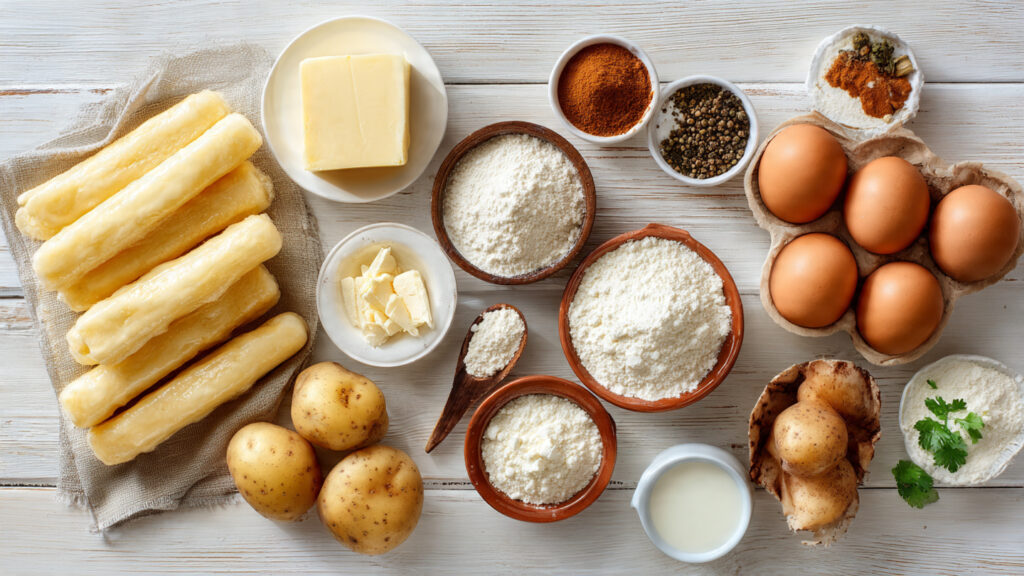
Ingredients
For the Potato Mixture:
| Ingredient | Quantity |
|---|---|
| Russet potatoes (about 4 medium potatoes) | 2 lbs (900g) |
| Shredded mozzarella cheese | 1½ cups |
| Shredded cheddar cheese | ½ cup |
| Grated Parmesan cheese | ¼ cup |
| Butter, melted | 2 tablespoons |
| Large eggs | 2 |
| All-purpose flour | 3 tablespoons |
| Cornstarch | 2 tablespoons |
| Garlic powder | 1 teaspoon |
| Onion powder | 1 teaspoon |
| Salt | ½ teaspoon |
| Black pepper | ¼ teaspoon |
| Fresh chives or green onions, finely chopped (optional) | 2 tablespoons |
For the Coating:
| Ingredient | Quantity |
|---|---|
| All-purpose flour | 1 cup |
| Large eggs, beaten | 2 |
| Milk | 2 tablespoons |
| Panko breadcrumbs | 2 cups |
| Regular breadcrumbs | ½ cup |
| Garlic powder | ½ teaspoon |
| Paprika | ½ teaspoon |
| Italian seasoning | ½ teaspoon |
| Salt | ¼ teaspoon |
| Black pepper | ¼ teaspoon |
For Frying:
| Ingredient | Quantity |
|---|---|
| Vegetable oil, canola oil, or peanut oil (for deep frying) | As needed |
| Or cooking spray (for baking or air frying) | As needed |
For Serving (suggested):
| Sauce | Purpose |
|---|---|
| Marinara sauce | Classic dipping option |
| Ranch dressing | Creamy favorite |
| Garlic aioli | Gourmet option |
| Sour cream | Simple and tangy |
| Spicy mayo | Heat lovers |
| Ketchup | Kid-friendly |
Tools Needed
- Large pot (for boiling potatoes)
- Potato masher or ricer
- Large mixing bowl
- Baking sheet
- Parchment paper or silicone mat
- Three shallow bowls or plates (for breading station)
- Deep fryer, large pot, or air fryer
- Cooking thermometer (for oil temperature)
- Slotted spoon or spider strainer
- Paper towels (for draining)
- Wire cooling rack
- Sharp knife or pizza cutter
Suggested Substitutions and Additions
Potato Options:
- Russet potatoes: Best choice for fluffy texture
- Yukon Gold potatoes: Creates creamier, slightly denser sticks
- Sweet potatoes: For a sweet and savory twist
- Leftover mashed potatoes: Perfect way to use up leftovers! Just skip the boiling step
- Instant mashed potatoes: In a pinch, prepared according to package directions
Cheese Variations:
- Mozzarella: Classic for that stretchy cheese pull
- Cheddar: Sharp flavor, melts beautifully
- Pepper Jack: Adds a spicy kick
- Gruyere or Swiss: More sophisticated, nutty flavor
- Gouda: Smoky, creamy option
- Mexican blend: Great for a southwestern twist
- Vegan cheese: For dairy-free version
- Mix and match: Combine your favorites for custom flavor
Flour Alternatives:
- All-purpose flour: Standard choice
- Gluten-free flour blend: For gluten-free version
- Rice flour: Creates extra crispy coating
- Cornstarch only: For gluten-free option
Breadcrumb Options:
- Panko breadcrumbs: Creates the crispiest coating (highly recommended)
- Regular breadcrumbs: Works but less crispy
- Gluten-free breadcrumbs: For gluten-free version
- Crushed cornflakes: Extra crunchy alternative
- Crushed crackers: Ritz or saltines work well
- Crushed potato chips: For ultimate potato flavor
Flavor Additions to Potato Mixture:
- Add crispy bacon bits for loaded potato flavor
- Mix in jalapeños for spicy version
- Add sun-dried tomatoes for Mediterranean twist
- Incorporate caramelized onions for sweetness
- Mix in cooked, crumbled sausage
- Add fresh herbs like parsley, dill, or cilantro
- Stir in ranch seasoning mix for extra flavor
- Add buffalo sauce and blue cheese for buffalo version
Seasoning Variations for Coating:
- Cajun seasoning for Southern flair
- Old Bay seasoning for seafood-inspired flavor
- Taco seasoning for Mexican-style sticks
- Everything bagel seasoning for unique twist
- Truffle salt for gourmet version
- Smoked paprika for smoky depth
Cooking Method Options:
- Deep frying: Crispiest result, traditional method
- Shallow frying: Uses less oil, still crispy
- Baking: Healthier option (spray with oil for crispiness)
- Air frying: Best of both worlds – crispy with minimal oil
How to Make Crispy Potato Cheese Sticks
Step 1: Cook and Mash the Potatoes
Start by washing your potatoes thoroughly, then peel them and cut them into evenly-sized chunks (about 2-inch pieces) – this ensures they cook uniformly. Place the potato chunks in a large pot and cover with cold water by about 1 inch. Add a generous pinch of salt to the water. Bring to a boil over high heat, then reduce to medium and simmer for 15-20 minutes, or until the potatoes are completely tender when pierced with a fork. They should break apart easily.
Drain the potatoes thoroughly in a colander and return them to the hot pot. Let them sit for 1-2 minutes to allow excess moisture to evaporate – this is crucial for the right texture! Now mash the potatoes while they’re still hot using a potato masher or ricer. For the smoothest texture, use a ricer. Make sure there are absolutely no lumps. Let the mashed potatoes cool for about 10 minutes until they’re warm but not hot – if they’re too hot, they’ll melt the cheese and scramble the eggs when you add them. This cooling step is essential, so don’t skip it!
Step 2: Mix the Potato Cheese Filling
Once your mashed potatoes have cooled slightly, transfer them to a large mixing bowl. Add the melted butter and stir it in thoroughly – this adds richness and helps bind everything together. Now add the shredded mozzarella, cheddar, and Parmesan cheeses. Mix well until all the cheese is evenly distributed throughout the potato. The residual heat from the potatoes will slightly soften the cheese, which is perfect.
Add the eggs, flour, cornstarch, garlic powder, onion powder, salt, pepper, and chopped chives (if using). Mix everything together thoroughly until you have a uniform, thick mixture. The consistency should be similar to thick cookie dough – it should hold its shape when formed but still be somewhat soft. If the mixture feels too wet or sticky, add another tablespoon of flour; if it’s too dry and crumbly, add a small splash of milk. Taste the mixture and adjust seasonings if needed – remember, the potato should be well-seasoned since the coating will be relatively mild.
Step 3: Shape the Cheese Sticks
Line a large baking sheet with parchment paper or a silicone mat. Now it’s time to shape your sticks! Take about 2-3 tablespoons of the potato mixture (a cookie scoop works great for this) and roll it between your palms to form a log shape, similar to a mozzarella stick. Aim for sticks that are about 3-4 inches long and about 1 inch thick – uniform size ensures even cooking. Place each shaped stick on the prepared baking sheet.
Continue until you’ve used all the potato mixture – you should get approximately 16-20 sticks depending on size. Once all the sticks are formed, place the entire baking sheet in the freezer for at least 30 minutes, or up to 2 hours. This freezing step is absolutely critical! It firms up the sticks so they hold their shape during breading and cooking, and prevents them from falling apart when they hit the hot oil. Some people freeze them overnight, which works perfectly and makes them even easier to coat. You can also stop here and keep them frozen in a container for up to 3 months for future use!
Step 4: Set Up the Breading Station
While your potato sticks are freezing, set up your three-bowl breading station. In the first shallow bowl, place 1 cup of flour. In the second bowl, beat together the 2 eggs and 2 tablespoons of milk until well combined – the milk helps thin the egg slightly for better coating. In the third bowl, combine the panko breadcrumbs, regular breadcrumbs, garlic powder, paprika, Italian seasoning, salt, and pepper. Mix the breadcrumb mixture well so all the seasonings are evenly distributed.
Arrange your bowls in order: flour, egg mixture, breadcrumb mixture. Place a clean baking sheet or plate lined with parchment paper at the end of the line – this is where you’ll place the breaded sticks. Having everything organized and within reach makes the breading process much faster and less messy. This is classic three-stage breading, which creates the crispiest, most adherent coating that won’t fall off during cooking!
Step 5: Bread the Frozen Sticks
Remove your frozen potato sticks from the freezer – work with 4-5 at a time, keeping the rest frozen. Take one stick and roll it in the flour, coating all sides and shaking off any excess. Next, dip it in the egg mixture, making sure it’s completely coated and letting excess drip off. Finally, roll it in the breadcrumb mixture, pressing gently to ensure the breadcrumbs adhere well all over. Make sure every surface is covered with no bare spots showing through.
Place the fully breaded stick on the clean baking sheet and repeat with the remaining sticks. If the sticks start to soften while you’re breading them, pop the tray back in the freezer for 10 minutes. For extra crispy sticks, you can do a double coating: after the first complete breading, dip the stick back in the egg and then the breadcrumbs again. Once all sticks are breaded, place them back in the freezer for another 15-20 minutes before cooking. This final freeze ensures the coating is set and the inside stays intact during cooking.
Step 6: Cook Until Golden and Crispy
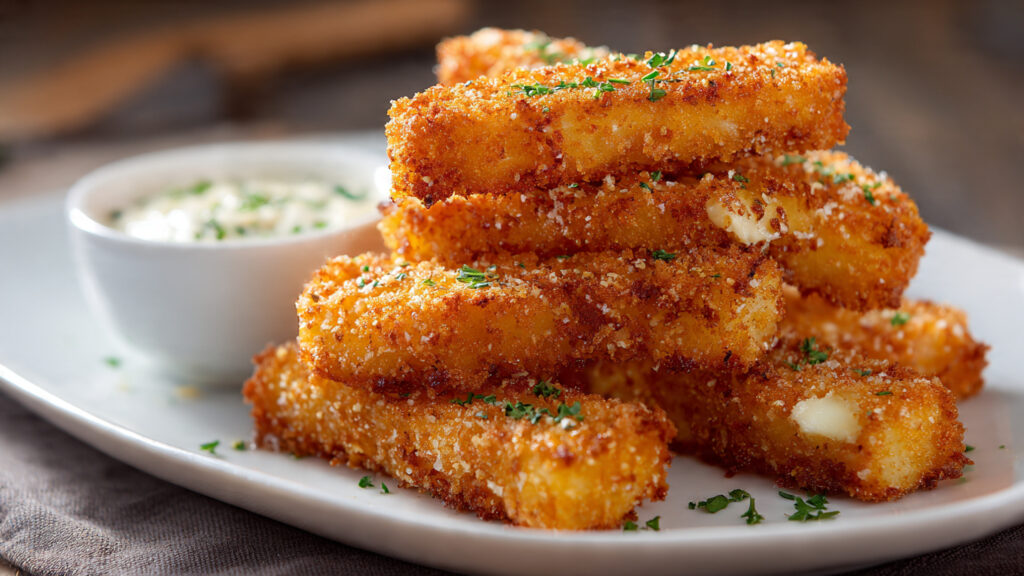
For Deep Frying (Recommended for Crispiest Result): Heat 2-3 inches of oil in a deep pot or deep fryer to 350°F (175°C) – use a thermometer to monitor temperature accurately. Carefully lower 3-4 frozen breaded sticks into the hot oil using a slotted spoon. Don’t overcrowd the pot or the temperature will drop and they’ll become greasy. Fry for 3-4 minutes, turning occasionally with tongs, until deep golden brown all over and crispy. The cheese inside should be melted and gooey. Remove with a slotted spoon and drain on paper towels placed over a wire rack. Let the oil return to 350°F between batches.
For Air Frying (Healthier Option): Preheat your air fryer to 400°F (200°C). Spray the basket with cooking spray. Arrange the frozen breaded sticks in a single layer, not touching. Spray the tops generously with cooking spray. Air fry for 12-15 minutes, flipping halfway through and spraying again, until golden brown and crispy.
For Baking: Preheat oven to 425°F (220°C). Place sticks on a greased baking sheet or wire rack set over a baking sheet. Spray generously with cooking spray. Bake for 20-25 minutes, flipping halfway and spraying again, until golden and crispy.
Serve immediately while hot and crispy with your favorite dipping sauces!
What to Serve with It
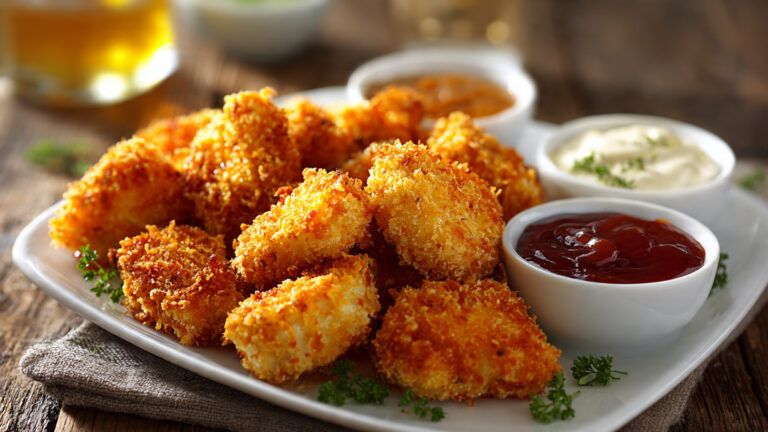
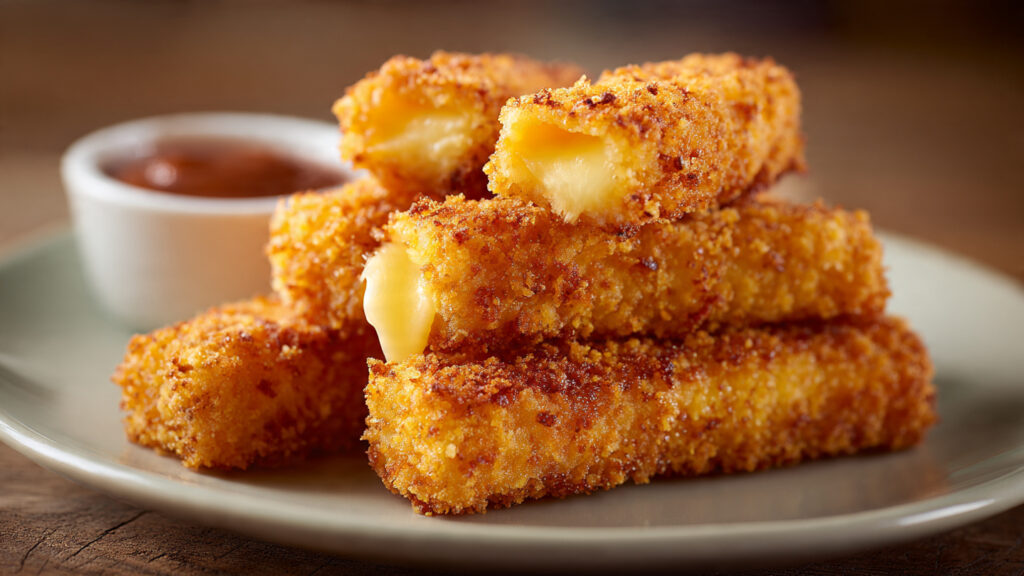
Crispy Potato Cheese Sticks are incredibly versatile and pair beautifully with a variety of dipping sauces and side dishes. The classic pairing is marinara sauce – the tangy tomato flavor cuts through the richness perfectly, just like mozzarella sticks. Ranch dressing is another crowd favorite, especially with kids, and its creamy, herby flavor complements the potato beautifully.
For more sophisticated options, serve with garlic aioli, chipotle mayo, or sriracha mayo for adults who enjoy a bit of heat. Sour cream mixed with fresh chives is simple but delicious, or try blue cheese dressing for those who love bold flavors. Honey mustard provides a sweet-tangy contrast that’s surprisingly good with the cheesy potato.
As for sides, these cheese sticks work well alongside crispy chicken wings, buffalo cauliflower, or jalapeño poppers for the ultimate game day spread. Serve them with a fresh green salad to balance the richness, or alongside coleslaw for crunch and freshness. They also make an excellent side dish to burgers, sandwiches, or grilled meats.
For beverages, they pair perfectly with cold beer (especially lagers or pilsners), iced tea, lemonade, or for kids, chocolate milk or fruit juice. If you’re hosting a party, create a dipping sauce bar with multiple options and let guests choose their favorites!
Tips for Making It Perfect
- Dry your potatoes thoroughly: After boiling and draining, let the potatoes sit in the hot pot for a minute or two to steam off excess moisture. Too much moisture in the potato mixture will make the sticks fall apart and prevent them from getting crispy. You want fluffy, dry mashed potatoes as your base.
- Don’t skip the freezing steps: Freezing the shaped sticks before breading and again after breading is absolutely essential. This firms them up so they hold their shape during cooking and prevents the cheese from oozing out before the coating gets crispy. Think of it as setting the structure in place before hitting them with heat.
- Maintain proper oil temperature: If frying, keep the oil at a steady 350°F. Too hot and the outside burns before the inside heats through; too cool and they’ll absorb oil and become greasy. Use a thermometer and fry in small batches to maintain temperature. Let the oil recover between batches.
- Press the breadcrumbs firmly: When coating with breadcrumbs, press gently but firmly to ensure they adhere well. Patting them on rather than just rolling creates better adhesion and prevents the coating from falling off during cooking. Any bare spots will leak cheese, so make sure coverage is complete.
- Use a mix of breadcrumbs: Combining panko with regular breadcrumbs gives you the best texture – panko provides extra crunch while regular breadcrumbs fill in gaps and create better adhesion. This combination creates the crispiest, most uniform coating that stays attached.
- Season generously: Both the potato mixture and the breadcrumb coating should be well-seasoned. Bland potato sticks are disappointing, so don’t be shy with the garlic powder, onion powder, and salt. Taste the potato mixture before shaping and adjust as needed.
- Work with cold ingredients: Keep everything as cold as possible during assembly. If the potato mixture warms up, pop it back in the fridge. If your hands are warm, run them under cold water periodically. Cold mixture = easier to handle and better-shaped sticks.
Storage Instructions
Refrigerator: Store cooked, cooled potato cheese sticks in an airtight container in the refrigerator for up to 3-4 days. Place parchment paper between layers to prevent sticking. They won’t be as crispy as when fresh, but they’re still delicious cold or reheated.
Reheating Cooked Sticks: For best results, reheat in a 400°F (200°C) oven for 8-10 minutes, or in an air fryer at 375°F for 5-7 minutes until heated through and crispy again. You can also microwave them for 30-60 seconds, but they won’t regain their crispiness – they’ll be soft but still tasty. Avoid reheating in oil as they’ll become too greasy.
Freezing Uncooked (Best Method): The absolute best way to store these is to freeze them BEFORE cooking. After breading, arrange the sticks on a baking sheet in a single layer and freeze until solid (about 2 hours). Then transfer to freezer bags or containers, separating layers with parchment paper. They’ll keep for up to 3 months. Cook directly from frozen – no thawing needed! Just add 1-2 minutes to the cooking time.
Freezing Cooked: You can also freeze cooked sticks for up to 2 months. Let them cool completely, then freeze in a single layer before transferring to containers. Reheat from frozen in a 400°F oven for 12-15 minutes or air fryer for 8-10 minutes until crispy and heated through.
Make-Ahead Strategy: For parties or meal prep, prepare the sticks through the breading stage, freeze them, and store in freezer bags. When you’re ready to serve, cook directly from frozen – no thawing required! This makes entertaining so much easier and ensures you always have a delicious snack ready to go.
General Information
Potato cheese sticks, sometimes called “potato croquettes” or “cheesy potato fingers,” are part of a larger family of fried potato snacks that exist in various forms across different cultures. Croquettes originated in France in the 18th century, where chefs created these breaded, fried cylinders as a way to use up leftover mashed potatoes and other ingredients. The word “croquette” comes from the French word “croquer,” meaning “to crunch,” which perfectly describes that satisfying crispy exterior.
Similar dishes appear worldwide: Spanish croquetas, Italian suppli, Dutch bitterballen, and Middle Eastern kibbeh all follow the same basic principle of a creamy filling encased in a crispy coating. The addition of cheese to potato croquettes is a relatively modern, American twist that combines two universally loved ingredients into one irresistible package.
Mozzarella sticks, which became popular in American restaurants and bars in the 1970s and 1980s, likely inspired the cheese-stuffed version of potato sticks we’re making here. The combination brings together the best of both worlds: the comfort of mashed potatoes with the indulgence of fried cheese, all in a convenient finger food format.
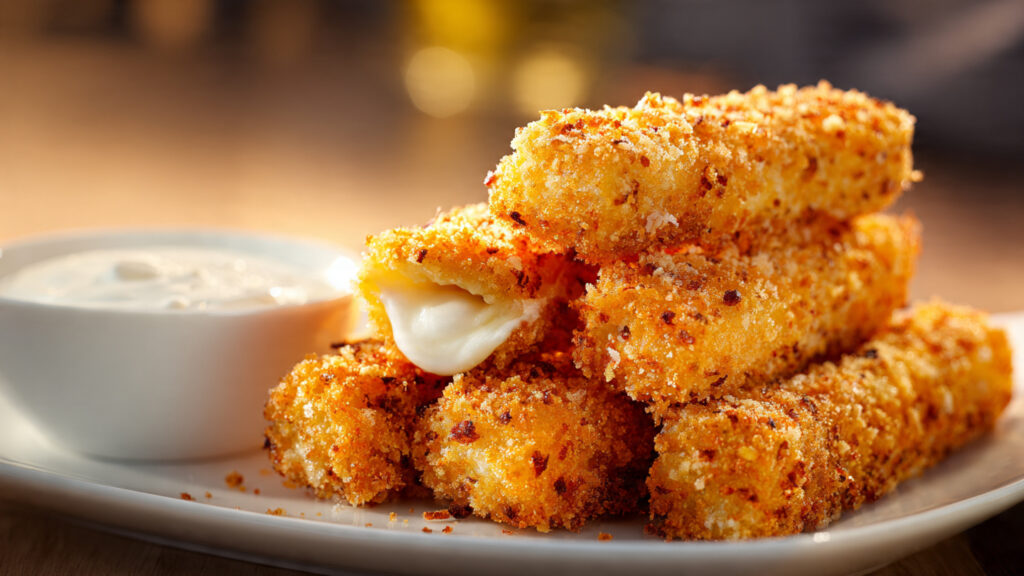
These crispy potato cheese sticks gained massive popularity through social media food videos in recent years, where the “cheese pull” shot of stretchy mozzarella has become an iconic visual. They represent the perfect modern comfort food: nostalgic (potatoes and cheese), photogenic (that cheese stretch!), customizable (endless flavor variations), and fun to eat. While they may not have centuries of tradition behind them, they’ve certainly earned their place in the contemporary comfort food hall of fame!
Frequently Asked Questions (FAQ)
Q: Can I bake these instead of frying for a healthier option? A: Absolutely! While frying produces the crispiest result, baking works well too. Preheat your oven to 425°F (220°C), place the breaded sticks on a greased baking sheet or wire rack, and spray generously with cooking oil spray. Bake for 20-25 minutes, flipping halfway through and spraying again, until golden brown. They won’t be quite as crispy as fried, but they’re still delicious and much lighter. For even better results, use an air fryer at 400°F for 12-15 minutes.
Q: Why do my cheese sticks fall apart or leak cheese during cooking? A: This usually happens because the sticks weren’t frozen long enough before cooking, or the oil temperature was too low. The freezing step firms up the structure so they hold together when they hit the heat. If you skip it or don’t freeze long enough, the cheese melts and leaks out before the coating sets. Also, if oil is too cool (below 340°F), the sticks cook too slowly and fall apart. Always freeze solid and maintain proper oil temperature!
Q: Can I use leftover mashed potatoes? A: Yes! This recipe is actually perfect for using up leftover mashed potatoes. You’ll need about 3-4 cups of cold mashed potatoes. Skip the boiling and mashing steps, and start by mixing your cold mashed potatoes with the cheeses, eggs, and seasonings. You may need to adjust the flour amount depending on how thick or thin your leftovers are. Leftover mashed potatoes actually work great because they’re already cooled and seasoned!
Q: Can I make these ahead for a party? A: These are perfect for make-ahead! Prepare the sticks through the breading stage, freeze them on a baking sheet until solid, then transfer to freezer bags. They’ll keep for up to 3 months. When party time arrives, cook them directly from frozen – no thawing needed, just add 1-2 minutes to the cooking time. This means you can have fresh, hot, crispy cheese sticks ready in minutes without any last-minute prep stress.
Q: What’s the best cheese to use for maximum cheese pull? A: Mozzarella is the undisputed champion of cheese pull! It has the highest stretch factor and creates those impressive cheese strings everyone loves. For best results, use low-moisture mozzarella (the kind you shred yourself, not pre-shredded). You can use 100% mozzarella for maximum pull, or do a combination of mozzarella for stretch and cheddar for flavor. Avoid using only hard cheeses like Parmesan as they don’t melt and stretch the same way.
Q: My breadcrumb coating falls off during cooking – how do I prevent this? A: The coating falls off usually because: (1) The sticks weren’t cold/frozen enough when they went into the oil, (2) The egg wash layer wasn’t applied well enough to act as glue, or (3) The breadcrumbs weren’t pressed firmly onto the sticks. Make sure each stick is completely coated at every stage, press the breadcrumbs on firmly, and freeze solid after breading. Also, avoid moving the sticks around too much while cooking – let them sit undisturbed for the first minute or two so the coating can set before flipping.
Conclusion
I hope you’re ready to become the hero of snack time with these Crispy Potato Cheese Sticks! There’s truly nothing more satisfying than biting into that golden, crunchy exterior and discovering the creamy, cheesy potato goodness inside. Whether you’re making these for a crowd, meal prepping for busy weeknights, or just treating yourself to some serious comfort food, this recipe delivers every single time.
I’d absolutely love to hear how your potato cheese sticks turned out! Please leave a comment below sharing your experience, what cheese combinations you used, or what dipping sauce won your heart. If these crispy beauties brought joy to your kitchen (and belly!), please give this recipe a five-star rating – it helps other food lovers discover this recipe and makes my day!
Don’t forget to snap a photo of your golden, crispy creations (especially that cheese pull shot!) and share it on Instagram – tag me so I can celebrate your success and share your beautiful work with our community! And please pin this recipe to your “Appetizers,” “Game Day Food,” or “Snack Ideas” boards on Pinterest so you always have it handy when those cheese cravings hit. Happy frying, baking, or air frying, and may your cheese always be stretchy and your coating always be crispy!
Nutritional Information (per serving)
Based on 18 cheese sticks (1 stick per serving, deep fried)
| Nutrient | Amount |
|---|---|
| Calories | 185 |
| Total Fat | 9g |
| Saturated Fat | 4g |
| Trans Fat | 0g |
| Cholesterol | 45mg |
| Sodium | 245mg |
| Total Carbohydrates | 18g |
| Dietary Fiber | 1g |
| Sugars | 1g |
| Protein | 7g |
| Vitamin A | 6% DV |
| Vitamin C | 4% DV |
| Calcium | 120mg |
| Iron | 1mg |
| Potassium | 210mg |
Note: Nutritional values are approximate and will vary based on cooking method (baked or air fried versions will have less fat), specific ingredients used, size of sticks, and oil absorption. Values shown are for deep-fried version.