Sticky Garlic Chicken Noodles | Easy Weeknight Dinner
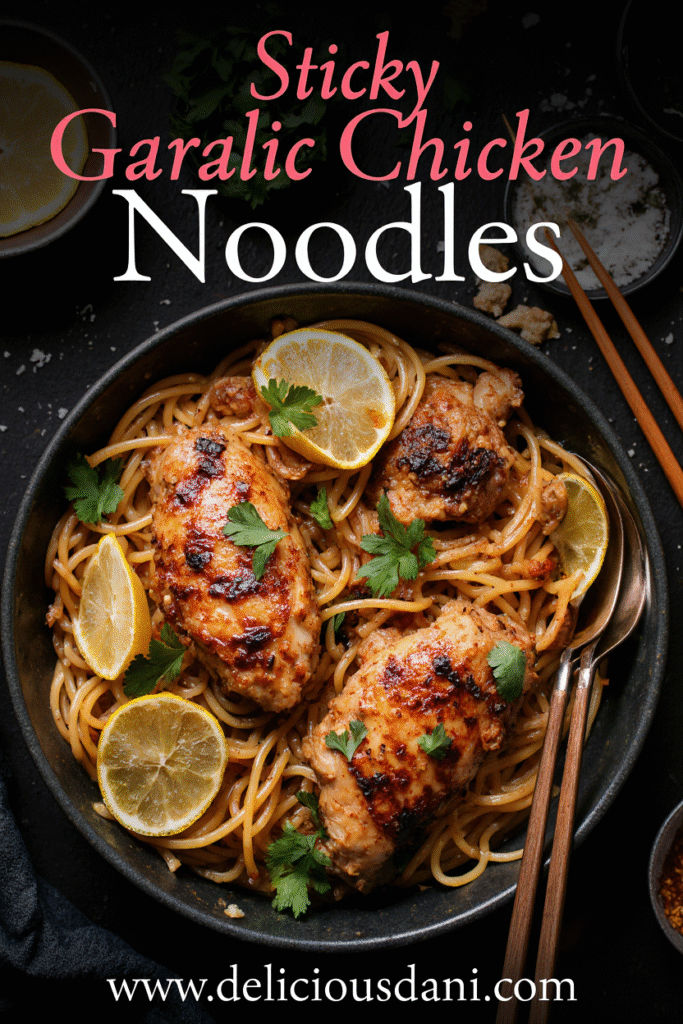
Let me tell you about my absolute favorite weeknight dinner solution: Sticky Garlic Chicken Noodles that come together in just 30 minutes but taste like you’ve been slaving away in the kitchen for hours! I created this recipe during one of those crazy busy weeks when I needed something quick, satisfying, and packed with flavor – and let me tell you, this dish delivers on all fronts. The combination of tender chicken pieces coated in a glossy, sweet-savory garlic sauce, tossed with perfectly cooked noodles, is nothing short of addictive. What makes this recipe truly special is the sticky sauce that clings to every strand of noodle and every bite of chicken, creating that restaurant-quality glaze we all crave. My kids request this at least twice a week, and I’ve served it to dinner guests who always ask for the recipe. Whether you’re a busy parent, a college student, or just someone who appreciates good food without the fuss, this one-pan wonder is about to become your new go-to dinner. Trust me, once you make this, takeout will become a distant memory!
Overview of Recipe Content
Sticky Garlic Chicken Noodles is the ultimate weeknight dinner that’s perfect for those busy Monday through Friday evenings when you need something quick, delicious, and satisfying on the table fast. It’s a great recipe because it uses simple, accessible ingredients you likely already have in your pantry and fridge, requires only one pan (hello, easy cleanup!), and delivers maximum flavor with minimal effort. The flavor profile is a beautiful balance of savory, sweet, and umami with a pronounced garlic punch – think Asian-inspired takeout vibes with honey-glazed chicken, rich soy sauce depth, and a subtle hint of heat if you choose to add it. This recipe is perfect for busy families, meal preppers, college students, anyone new to cooking, or experienced home cooks looking for a reliable weeknight staple that never disappoints. It’s also easily customizable to suit different tastes and dietary needs.
Ingredients
For the Chicken and Noodles:
| Ingredient | Quantity |
|---|---|
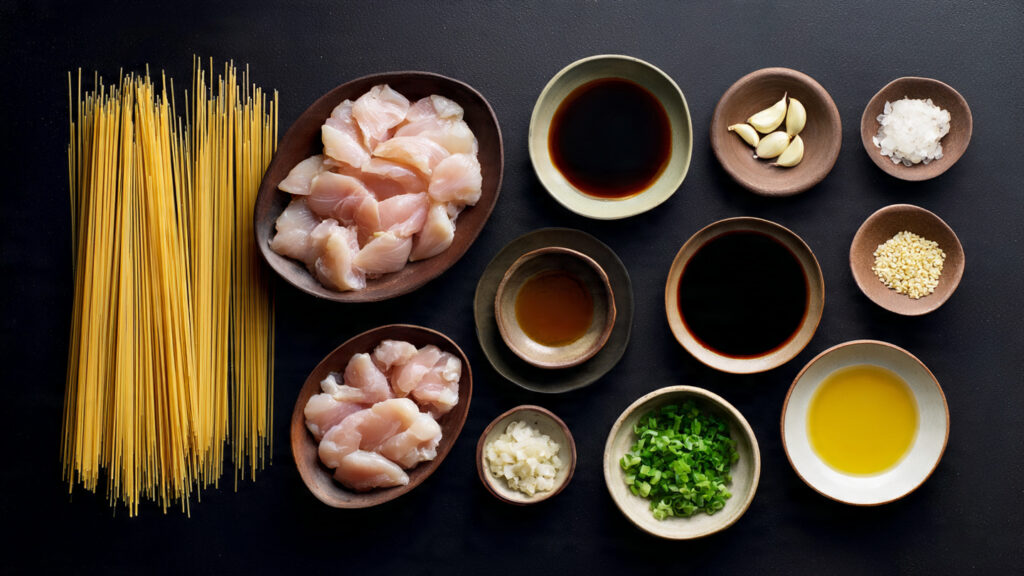
| Boneless, skinless chicken breasts or thighs, cut into bite-sized pieces | 1 lb (450g) |
| Noodles (lo mein, ramen, rice noodles, or spaghetti) | 8-10 oz (225-280g) |
| Vegetable oil (divided) | 2 tablespoons |
| Salt and black pepper | To taste |
| Cornstarch (for coating chicken) | 1 tablespoon |
| Green onions, sliced (for garnish) | 2 |
| Sesame seeds (for garnish) | 1 tablespoon |
| Red pepper flakes (optional, for garnish) | To taste |
For the Sticky Garlic Sauce:
| Ingredient | Quantity |
|---|---|
| Garlic, minced | 6 cloves (about 2 tablespoons) |
| Soy sauce (or tamari for gluten-free) | 3 tablespoons |
| Honey | 2 tablespoons |
| Rice vinegar (or apple cider vinegar) | 1 tablespoon |
| Oyster sauce | 1 tablespoon |
| Sesame oil | 1 teaspoon |
| Fresh ginger, grated | ½ teaspoon |
| Water or chicken broth | ¼ cup |
| Cornstarch mixed with water (slurry) | 1 tablespoon + 2 tablespoons water |
| Red pepper flakes (optional, for heat) | ½ teaspoon |
Tools Needed
- Large pot (for boiling noodles)
- Large skillet or wok
- Colander or strainer
- Cutting board
- Sharp knife
- Measuring cups and spoons
- Small bowl (for mixing sauce)
- Wooden spoon or spatula
- Tongs
- Garlic press or microplane (optional)
Suggested Substitutions and Additions
Protein Substitutions:
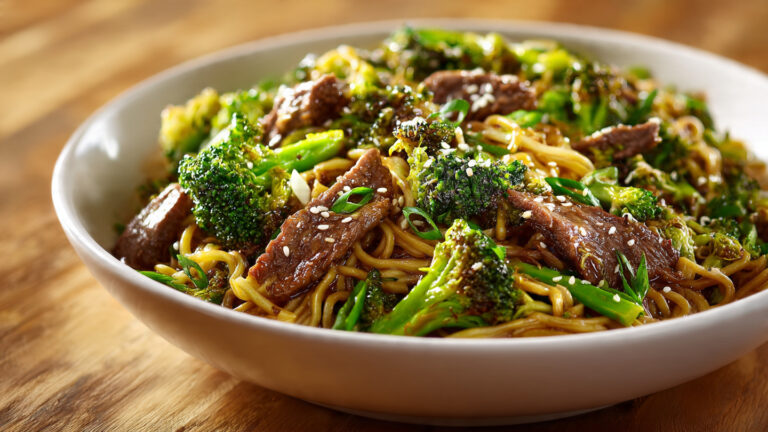
- Chicken: Use shrimp (cook for 2-3 minutes per side), thinly sliced beef, pork tenderloin, or tofu for a vegetarian option
- For meal prep: Rotisserie chicken works great – just shred and toss with the sauce
Noodle Options:
- Lo mein noodles: Traditional and authentic choice
- Ramen noodles: Use fresh or dried (discard seasoning packet)
- Rice noodles: Great for gluten-free option
- Spaghetti or linguine: Western pasta works surprisingly well
- Udon noodles: For a chewier, heartier texture
- Zucchini noodles: For low-carb/keto version (don’t boil, just toss with hot sauce)
Sauce Modifications:
- Soy sauce: Use low-sodium soy sauce, tamari (gluten-free), or coconut aminos (soy-free)
- Honey: Substitute with brown sugar, maple syrup, or agave nectar
- Oyster sauce: If you don’t have it, use hoisin sauce or extra soy sauce with a pinch of sugar
- Ginger: Use ¼ teaspoon ground ginger if fresh isn’t available
Delicious Additions:
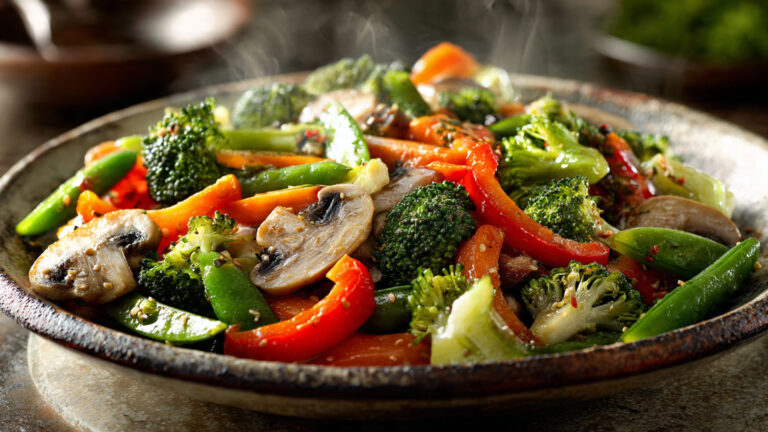
- Add vegetables: bell peppers, broccoli florets, snap peas, carrots, baby corn, mushrooms, or bok choy
- Toss in cashews or peanuts for extra crunch
- Add a splash of Sriracha or chili oil for more heat
- Squeeze fresh lime juice over the finished dish for brightness
- Stir in a beaten egg at the end for richness (like fried rice style)
- Add a tablespoon of peanut butter to the sauce for a Thai-inspired twist
- Top with crispy fried onions or garlic chips
Dietary Modifications:
- Gluten-free: Use tamari, gluten-free oyster sauce, and rice noodles
- Low-carb: Replace noodles with zucchini noodles or shirataki noodles
- Dairy-free: This recipe is naturally dairy-free!
- Lower sodium: Use low-sodium soy sauce and reduce oyster sauce
How to Make Sticky Garlic Chicken Noodles
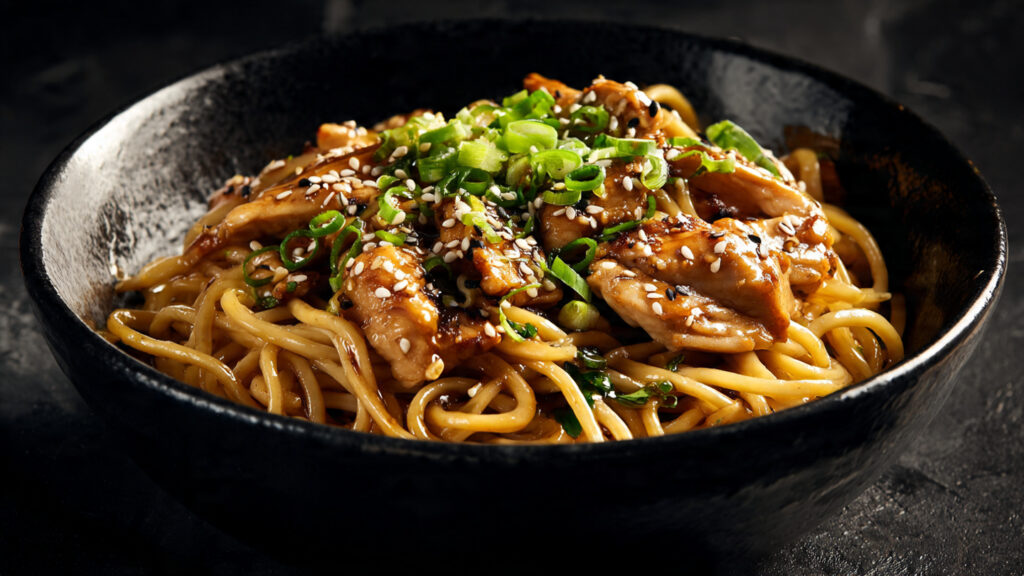
Step 1: Prep Your Ingredients and Cook the Noodles
Start by getting all your ingredients prepped and ready – this is key for a quick weeknight meal! Cut your chicken into bite-sized pieces (about 1-inch cubes) and season with salt and pepper. Toss the chicken pieces with 1 tablespoon of cornstarch until evenly coated – this creates a light coating that helps the sauce stick beautifully. Mince your garlic, grate the ginger, and slice your green onions, keeping the white and green parts separate. In a small bowl, whisk together all the sauce ingredients except the cornstarch slurry (soy sauce, honey, rice vinegar, oyster sauce, sesame oil, ginger, water, and red pepper flakes if using). Set aside.
Bring a large pot of water to a boil and cook your noodles according to package directions until just al dente. This usually takes 3-4 minutes for fresh noodles or 6-8 minutes for dried. You want them slightly undercooked since they’ll continue cooking when tossed with the hot sauce. Drain the noodles in a colander, rinse briefly with cold water to stop the cooking process, and toss with a tiny drizzle of oil to prevent sticking. Set aside.
Step 2: Cook the Chicken to Golden Perfection
Heat 1 tablespoon of vegetable oil in a large skillet or wok over medium-high heat until shimmering. Once the oil is hot, add the chicken pieces in a single layer, making sure not to overcrowd the pan (work in batches if necessary). Let the chicken cook undisturbed for 2-3 minutes on the first side until you get a nice golden-brown crust – resist the urge to move it around! Flip the chicken pieces and cook for another 2-3 minutes on the other side until golden and cooked through (internal temperature should reach 165°F/74°C). The chicken should be beautifully caramelized and no longer pink in the center.
Once cooked, transfer the chicken to a plate and set aside. Don’t worry if there are some browned bits stuck to the pan – those are packed with flavor and will add depth to your sauce! If the pan looks dry or has too many burnt bits, you can wipe it clean and add a fresh drizzle of oil for the next step.
Step 3: Create the Sticky Garlic Sauce
In the same skillet (don’t wash it – those flavorful brown bits are gold!), reduce the heat to medium and add the remaining tablespoon of oil if needed. Add the minced garlic and the white parts of the green onions to the pan. Sauté for about 30-45 seconds, stirring constantly, until incredibly fragrant and the garlic just begins to turn golden – be careful not to burn it as burnt garlic tastes bitter. The smell at this point should be absolutely intoxicating!
Give your prepared sauce mixture a quick stir and pour it into the skillet. Bring the sauce to a simmer, stirring to scrape up all those delicious browned bits from the bottom of the pan. Let it simmer for 1-2 minutes. Now, give your cornstarch slurry (1 tablespoon cornstarch mixed with 2 tablespoons water) a quick stir and slowly pour it into the simmering sauce while stirring constantly. You’ll see the magic happen immediately – the sauce will begin to thicken and turn beautifully glossy within 30 seconds to 1 minute. It should coat the back of a spoon and have that signature sticky, glazed consistency. If it gets too thick, add a splash of water; if too thin, let it simmer a bit longer.
Step 4: Combine Everything and Toss
Return the cooked chicken to the skillet with all that glorious sticky garlic sauce. Toss the chicken pieces in the sauce until every piece is completely coated and glistening. Let it cook together for about 1 minute so the flavors meld and the chicken reheats fully. Now add your cooked noodles to the skillet. Using tongs or two spatulas, toss everything together vigorously for 1-2 minutes, ensuring every strand of noodle and every piece of chicken is coated in that sticky, glossy sauce. The noodles should look shiny and well-coated, with the sauce clinging to them beautifully.
Taste and adjust seasoning if needed – you might want a splash more soy sauce for saltiness, a drizzle of honey for sweetness, or a squeeze of lime for brightness. Toss in the green parts of the sliced green onions and give everything one final toss. The dish should look vibrant, glossy, and absolutely irresistible!
Step 5: Serve and Garnish
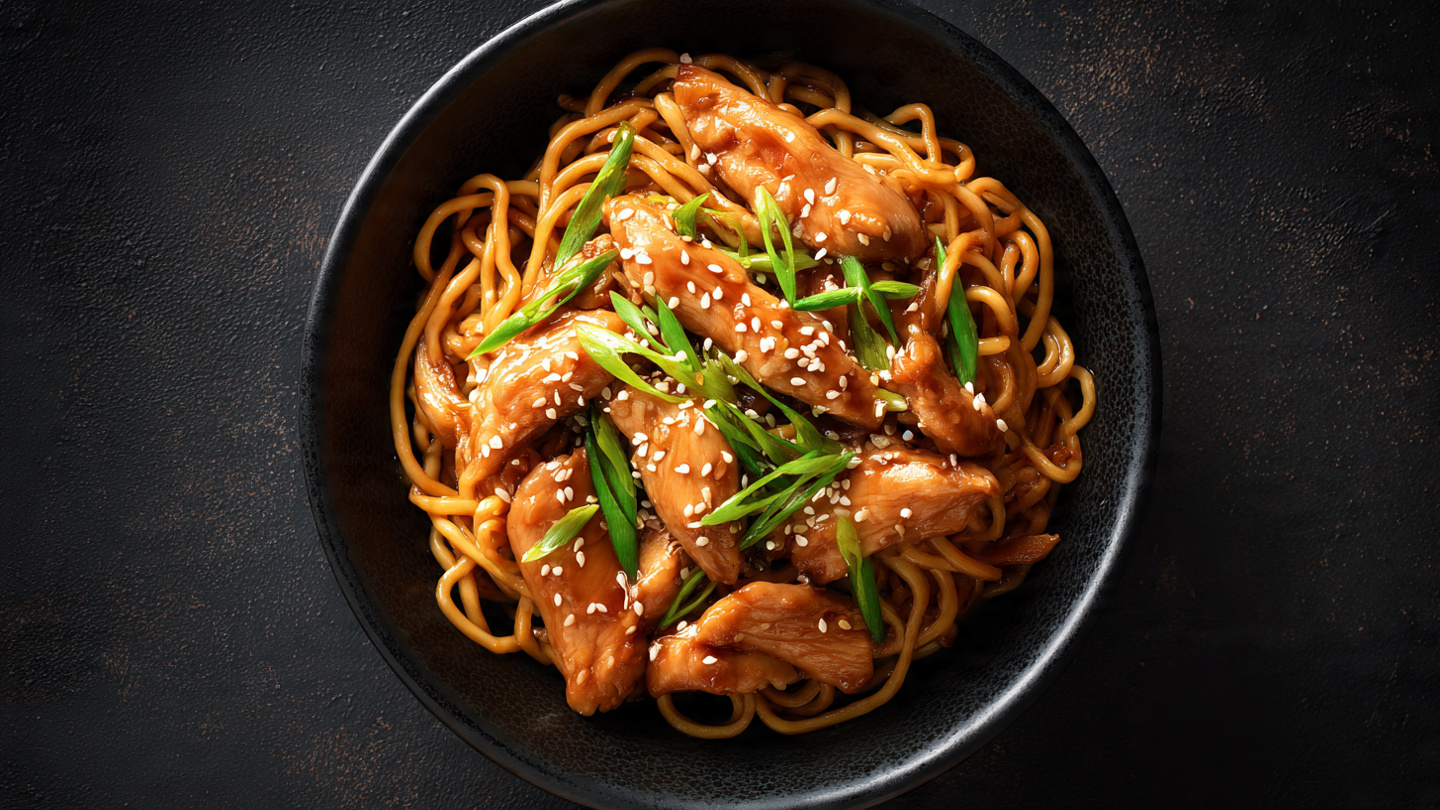
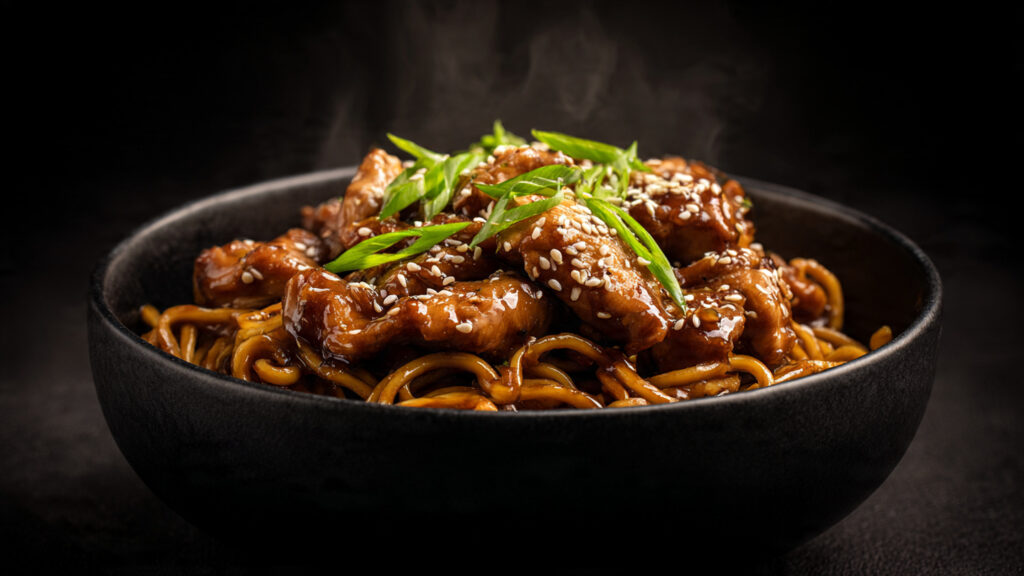
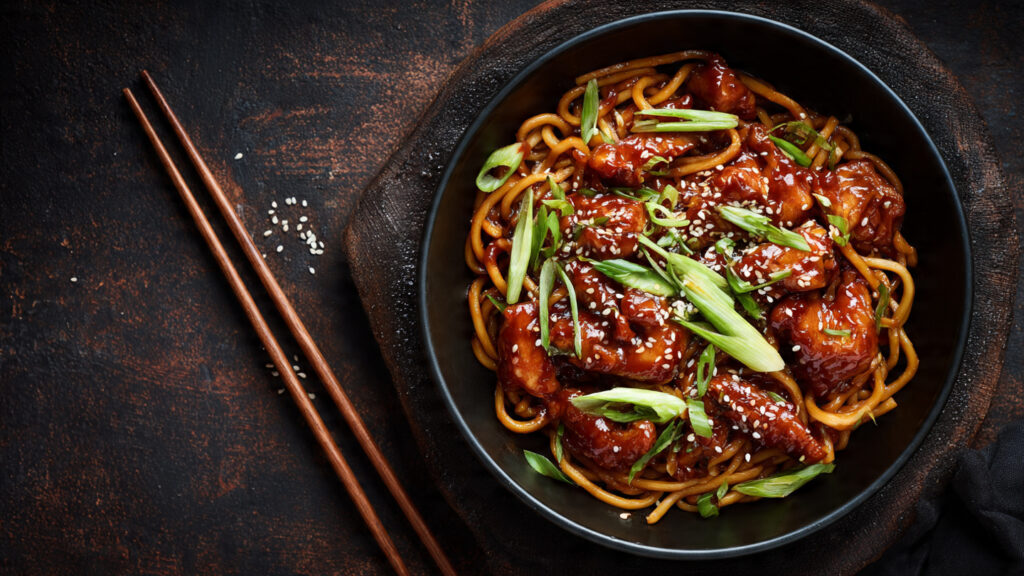
Transfer your sticky garlic chicken noodles to serving plates or bowls immediately while they’re hot. Garnish generously with the remaining sliced green onions, a sprinkle of sesame seeds, and red pepper flakes if you like a bit of heat and color. You can also add a lime wedge on the side for people to squeeze over their portion. Serve immediately while the noodles are at their best – hot, glossy, and perfectly coated in that addictive sauce. This dish is best enjoyed fresh, though leftovers are still delicious (more on that in storage instructions!).
What to Serve with It
Sticky Garlic Chicken Noodles is quite substantial on its own, but you can round out the meal with some complementary sides. Start with a simple Asian cucumber salad dressed with rice vinegar, sesame oil, and a touch of sugar – the cool, crisp cucumber provides a refreshing contrast to the rich, sticky noodles.
A side of steamed or stir-fried vegetables like bok choy, Chinese broccoli (gai lan), or sautéed snap peas adds color, nutrition, and a fresh element to balance the richness. For something light and tangy, serve with a quick cabbage slaw with ginger-sesame dressing.
If you want to make it a bigger spread, add some crispy vegetable spring rolls or potstickers as appetizers – they pair beautifully with the Asian flavor profile. For drinks, serve with iced green tea, cold beer, or even a light Riesling or Gewürztraminer wine that complements the sweet-savory flavors. A simple hot and sour soup on the side also makes this feel like a complete Chinese restaurant experience at home!
Tips for Making It Perfect
- Don’t skip the cornstarch coating on the chicken: That light dusting of cornstarch before cooking the chicken creates a slightly crispy exterior that helps the sauce adhere better and gives you that professional, restaurant-quality texture. It also helps seal in the juices, keeping your chicken tender.
- Cook chicken in batches if needed: Overcrowding the pan causes the chicken to steam rather than sear, resulting in pale, rubbery chicken instead of golden, caramelized pieces. If your skillet isn’t large enough, cook the chicken in two batches and keep the first batch warm while you finish the second.
- Have everything ready before you start cooking: This is classic mise en place, and it’s especially important for quick stir-fry style dishes. Once you start cooking, everything moves fast, and you don’t want to be mincing garlic while your chicken burns. Prep all ingredients and have them within arm’s reach.
- Adjust the sauce consistency to your preference: Some people love a thicker, stickier sauce that really clings to the noodles, while others prefer it slightly looser. You control this with the cornstarch slurry – add it gradually and stop when you reach your desired consistency. Remember, the sauce will thicken slightly as it cools.
- Use fresh garlic for maximum flavor: While garlic powder or pre-minced jarred garlic can work in a pinch, fresh garlic makes a huge difference in this recipe where garlic is the star. The pungent, aromatic quality of fresh garlic is what makes this dish so crave-worthy.
- Toss, don’t stir: When combining the noodles with the sauce, use a tossing motion with tongs or two utensils rather than stirring. This ensures even coating without breaking the noodles and creates that beautiful, glossy finish you see in restaurants.
- Serve immediately for best texture: Noodles continue to absorb sauce as they sit, so this dish is best served right away. If you need to wait, you can keep the components separate and combine just before serving, or add a splash of water or broth when reheating to loosen the sauce.
Storage Instructions
Refrigerator: Store leftover sticky garlic chicken noodles in an airtight container in the refrigerator for up to 3-4 days. The noodles will absorb most of the sauce as they sit, becoming less “sticky” and more of a cohesive dish. This is normal and still tastes delicious! When storing, it’s best to let the noodles cool to room temperature first, then refrigerate within 2 hours of cooking.
Reheating: The best way to reheat is in a skillet or wok over medium heat. Add 2-3 tablespoons of water or chicken broth to loosen the sauce, then toss the noodles frequently until heated through (about 3-4 minutes). This method revives the sauce and prevents the noodles from drying out. You can also microwave individual portions for 1-2 minutes, stirring halfway through, but add a splash of water first. Avoid reheating more than once as the noodles will become mushy.
Freezing: While you can freeze this dish for up to 2 months in a freezer-safe container, I don’t particularly recommend it as noodles tend to change texture when frozen and thawed, becoming somewhat mushy. If you do freeze it, thaw overnight in the refrigerator and reheat gently in a skillet with added liquid. For better results, consider freezing the cooked chicken in the sauce separately, then making fresh noodles when ready to serve.
Meal Prep Tips: This recipe is excellent for meal prep! You can prep the components separately: cook the chicken and store in sauce (3-4 days), cook noodles and store lightly oiled (3-4 days), and keep the sauce separate. Combine and heat when ready to eat. Alternatively, portion the completed dish into meal prep containers for grab-and-go lunches.
General Information
Sticky garlic noodle dishes have their roots in Asian cuisine, particularly Chinese and Japanese cooking traditions, but the version we’re making here is very much an Americanized fusion dish that’s taken the internet and home kitchens by storm. The concept of coating noodles in a sticky, sweet-savory sauce dates back centuries in Asian cooking, where the balance of flavors (sweet, salty, sour, umami, and sometimes spicy) is considered essential to a good dish.
What makes these noodles particularly appealing to Western palates is the combination of familiar flavors (garlic, honey, soy sauce) in a format that’s easy to eat and incredibly satisfying. The “sticky” element comes from the honey and cornstarch slurry, which creates that glossy, clingy sauce that coats every noodle and piece of chicken – a technique borrowed from traditional Chinese stir-frying methods.
Interestingly, garlic noodles became famous in San Francisco’s Vietnamese American community, where restaurants like Thanh Long popularized a version with lots of butter, garlic, and Parmesan cheese. Our version here takes inspiration from multiple Asian cuisines while being accessible and quick enough for any home cook to master on a busy weeknight. The beauty of this dish is its versatility – it’s a template you can endlessly customize based on what you have in your fridge, making it not just a recipe but a technique you can use again and again with different proteins, vegetables, and flavor twists!
Frequently Asked Questions (FAQ)
Q: Can I use chicken thighs instead of chicken breasts? A: Absolutely! In fact, many people prefer chicken thighs because they’re more forgiving (harder to overcook), more flavorful, and stay juicier. Boneless, skinless chicken thighs are perfect for this recipe. They may take 1-2 minutes longer to cook through since they’re slightly thicker, but the cooking method remains the same. Dark meat also stands up beautifully to the bold garlic sauce.
Q: What if I don’t have oyster sauce? A: Oyster sauce adds a wonderful umami depth and slight sweetness, but if you don’t have it, you can substitute with hoisin sauce (which is sweeter and thicker) or simply use an extra tablespoon of soy sauce plus ½ teaspoon of brown sugar. Some people also use a combination of Worcestershire sauce and soy sauce as a substitute. The dish will taste slightly different but still delicious!
Q: My sauce isn’t thickening – what did I go wrong? A: The most common issue is not making a proper cornstarch slurry or adding it to sauce that isn’t hot enough. Make sure you mix the cornstarch with cold water until completely smooth with no lumps before adding it. The sauce must be simmering (gently bubbling) when you add the slurry. Stir constantly as you pour it in, and give it 30-60 seconds to thicken. If it still doesn’t thicken, make another small slurry (1 teaspoon cornstarch + 2 teaspoons water) and add gradually.
Q: Can I add vegetables to this dish? A: Definitely! This recipe is perfect for adding vegetables. For best results, add heartier vegetables (like broccoli, carrots, or bell peppers) at the same time as the chicken so they cook through, or stir-fry them separately and add them back in with the cooked chicken. Quicker-cooking vegetables (like snap peas, baby corn, or mushrooms) can be added when you make the sauce. Leafy greens like bok choy or spinach can be tossed in at the very end and will wilt from the residual heat.
Q: Is this recipe spicy? A: As written with optional red pepper flakes, this recipe has just a hint of heat, but it’s quite mild and kid-friendly. The sweetness from the honey balances any spice. If you want it spicier, add more red pepper flakes, sriracha, or chili garlic sauce to the sauce mixture. If you want zero heat, simply omit the red pepper flakes entirely. The beauty of this recipe is that everyone can adjust the heat level to their preference at the table.
Q: Can I make this ahead of time for meal prep? A: Yes! This makes excellent meal prep. For best results, you can either: (1) Prepare the components separately and combine when ready to eat, or (2) Make the complete dish and portion it into containers, understanding that the noodles will absorb the sauce and become less “sticky” over time (which many people actually prefer!). When reheating, add a splash of water or broth to revive the sauce. The dish keeps well in the refrigerator for 3-4 days, making it perfect for weekday lunches.
Conclusion
I’m so thrilled to share this Sticky Garlic Chicken Noodles recipe with you – it’s truly one of those recipes that will change your weeknight dinner game forever! The combination of tender chicken, perfectly cooked noodles, and that irresistible sticky garlic sauce is pure comfort food magic that never gets old. Once you master this basic recipe, you’ll find yourself making it again and again, each time with little tweaks and additions based on what you have on hand.
I’d love to hear how your sticky garlic chicken noodles turned out! Please drop a comment below telling me what you thought, any variations you tried, or questions you might have. If this recipe made your dinner table happy, please give it a five-star rating – it truly helps other home cooks discover these easy, delicious recipes!
Don’t forget to share your beautiful bowl of noodles on Instagram and tag me so I can see your creation – I love featuring reader photos in my stories! And please pin this recipe to your “Easy Dinner Recipes” or “Weeknight Meals” board on Pinterest so you can come back to it whenever you need a quick, satisfying dinner solution. Happy cooking, and here’s to never ordering takeout again!
Nutritional Information (per serving)
Based on 4 servings
| Nutrient | Amount |
|---|---|
| Calories | 485 |
| Total Fat | 12g |
| Saturated Fat | 2g |
| Cholesterol | 75mg |
| Sodium | 890mg |
| Total Carbohydrates | 62g |
| Dietary Fiber | 3g |
| Sugars | 12g |
| Protein | 32g |
| Vitamin A | 4% DV |
| Vitamin C | 8% DV |
| Calcium | 45mg |
| Iron | 2mg |
Note: Nutritional values are approximate and may vary based on specific ingredients, brands, and portion sizes used. Values are calculated without optional garnishes.